How to lace a wheel from scratch / adding a 21″ rear to your xs650.
When you look at many bikes, you may notice not many people are leaving their wheels chrome anymore. However, lots of guys haven’t tackled the job of learning how to build wheels, so they just paint the hub, the spokes and the rim as one whole piece. If you like the painted spokes look, that’s wonderful, but if you prefer to take your build cred and detail to the next level you’re going to have to learn to build a wheel. This way you can use new spokes that shine and still paint your hub and rim. So here’s what you do.

Step 1
Once you have your new spokes and painted or powdercoated parts, get them together. On a 36 hole xs wheel, there are 2 different spokes required per wheel. Look at the head of the spokes – you’ll see one spoke has a longer head. You’ll get 18 of each. Divide them up into 2 piles – 18 longer heads and 18 shorter heads. You’ll notice that in the massive Fong Bros assembly palace, we work only on the finest Persian Rugs. You’ll need the spokes with the short heads and the hub to start with, so put the others and rim aside.

Step 2
You’ll start on one side of the hub and put the spokes with the short heads into every other hole (starting with any hole)going from the outside of the hub toward the inside. Pull each spoke all the way through skip a hole and add the next. You’ll put in 9 on the first side. You have to do the same thing on theother side, but don’t flip the hub over to add the spokes yet. On the second side, you have to start from a specific place or your wheel will not go together correctly. Keeping your hub parallel to the ground (like resting on a bearing) with the spoked side up place one of the spokeheads at the 6:30 clock position. If you can envision a line dropping down from the spoke you”ll see there are holes on the other side of the hub at the 6:28 and 6:32 position, but not directly under 6:30. Make a mental note or mark the 6:28 hole. This is the one you’ll use to start the other side. Lace these spokes in the same way – use short heads and go from the outside in, skippi
ng a hole each time. In picture 2 you’ll see how it should look (push all the top side spokes in this direction (counterclockwise) and the lower spokes the opposite direction(clockwise)

Step 3
Now get your rim. Find the valve stem hole (It’s the big one). You will see next to the valve stem a pattern of spoke holes begins. The pattern is made up of 4 holes – left right left right (with both left holes facing each other and both right holes facing each other) Then the pattern begins again. On a 36 hole rim you can count this pattern 9 times and you end up back at the valve stem hole.

Step 4
With your hub on the fine Persian rug, or workbench, or floor – again resting on its bearing and with top and bottom spokes going in opposite directions, carefully place the rim around the spokes and hub. Now is the time to look for your 4 hole pattern on the rim (you’ll see the pattern has 2 upper holes and 2 lower holes since the rim is resting on it’s side now. Of the 2 upper holes, find the one that appears to be facing the upper spokes. One will look like it lines up and one will look like it’s going the opposite way. Place a spoke into the hole that looks like it lines up and put on a nipple. Turn the nipple 2 turns once the threads engage. Go in order to the next spoke on the top and go over 4 holes on the rim (it’s the same hole in the next set of 4 pattern. Put a spoke in and tighten the nipple 2 turns. Finish all 9 spokes (2 turns per nipple)

Step 5
Do the other side (you can flip the wheel over if you want). Again, you’ll see that only one hole logically line up to these spokes – the one on it’s side of the rim and that faces it. Put these spokes in and tighten 2 turns. In part 2 you’ll see what the wheel should look like with the first 18 spokes, then how to finish.

here’s how your wheel should look. I guess I forgot to mention the sweet hardwood floors in the FB styling salon.
Okay now where did I leave off? I don’t remember the step number so we’ll just call this step 7. So let’s start step 7 . Ready, here we go.

Step 7.
Go get a beer or soda or something. While you’re up, get those spokes with the longer heads. You’ll need them. Start on either side of the wheel and using any hole in that side of the hub, place a spoke through the hole from the inside out. You’ll turn this spoke so it goes in the opposite direction of the spokes that are also on this side of the rim. In other words, they’ll criss cross. (pic2) You’re going to see (Hopefully) that this spoke will point to a hole in the rim on it’s side of the wheel. If you can’t figure out which hole that is, it’s 6 away from the spoke next to it that it criss crosses. Add a nipple and tighten it 2 turns. Finish this side of the rim by continuing this pattern.

Step 8
Now for the final side. You’ll only have holes on one side of the hub and every 4th hole on the rim. Place a spoke into a hole, go the opposite direction of the spokes on this side you’re working on and place it in the hole in the rim that is waiting for it. Add a nipple, tighten 2 turns. Put in the rest of the spoke the same way.

Step 9
Admire your wheel Big Boy!

Step 10
Yes your spoke are VERY loose. Maybe even some nipples popped off because you tought you had them engaged, but later found them on the floor. Don’t worry, put them on and tighten 2 turns. It is CRITICAL (or just makes it WAY easier) to tighten them all the same amount. Go around the rim and tighten each spoke 6 turns. Still loose? Give each another turn or two. If you tighten them all the same amount, your wheel will be pretty true (straight). Get them good and tight. Adding some lube to the threads is a wonderful idea. They should vreak a little when you are getting tight enough. Look on the web for how to trrue a wheel. It’s much easier than you think. Yes, this is the wheel I’m using on my current bike which is hopefully to be done in a month and is/was going to be used in the how to articles by the Fong Bros. More to come. Bye now.
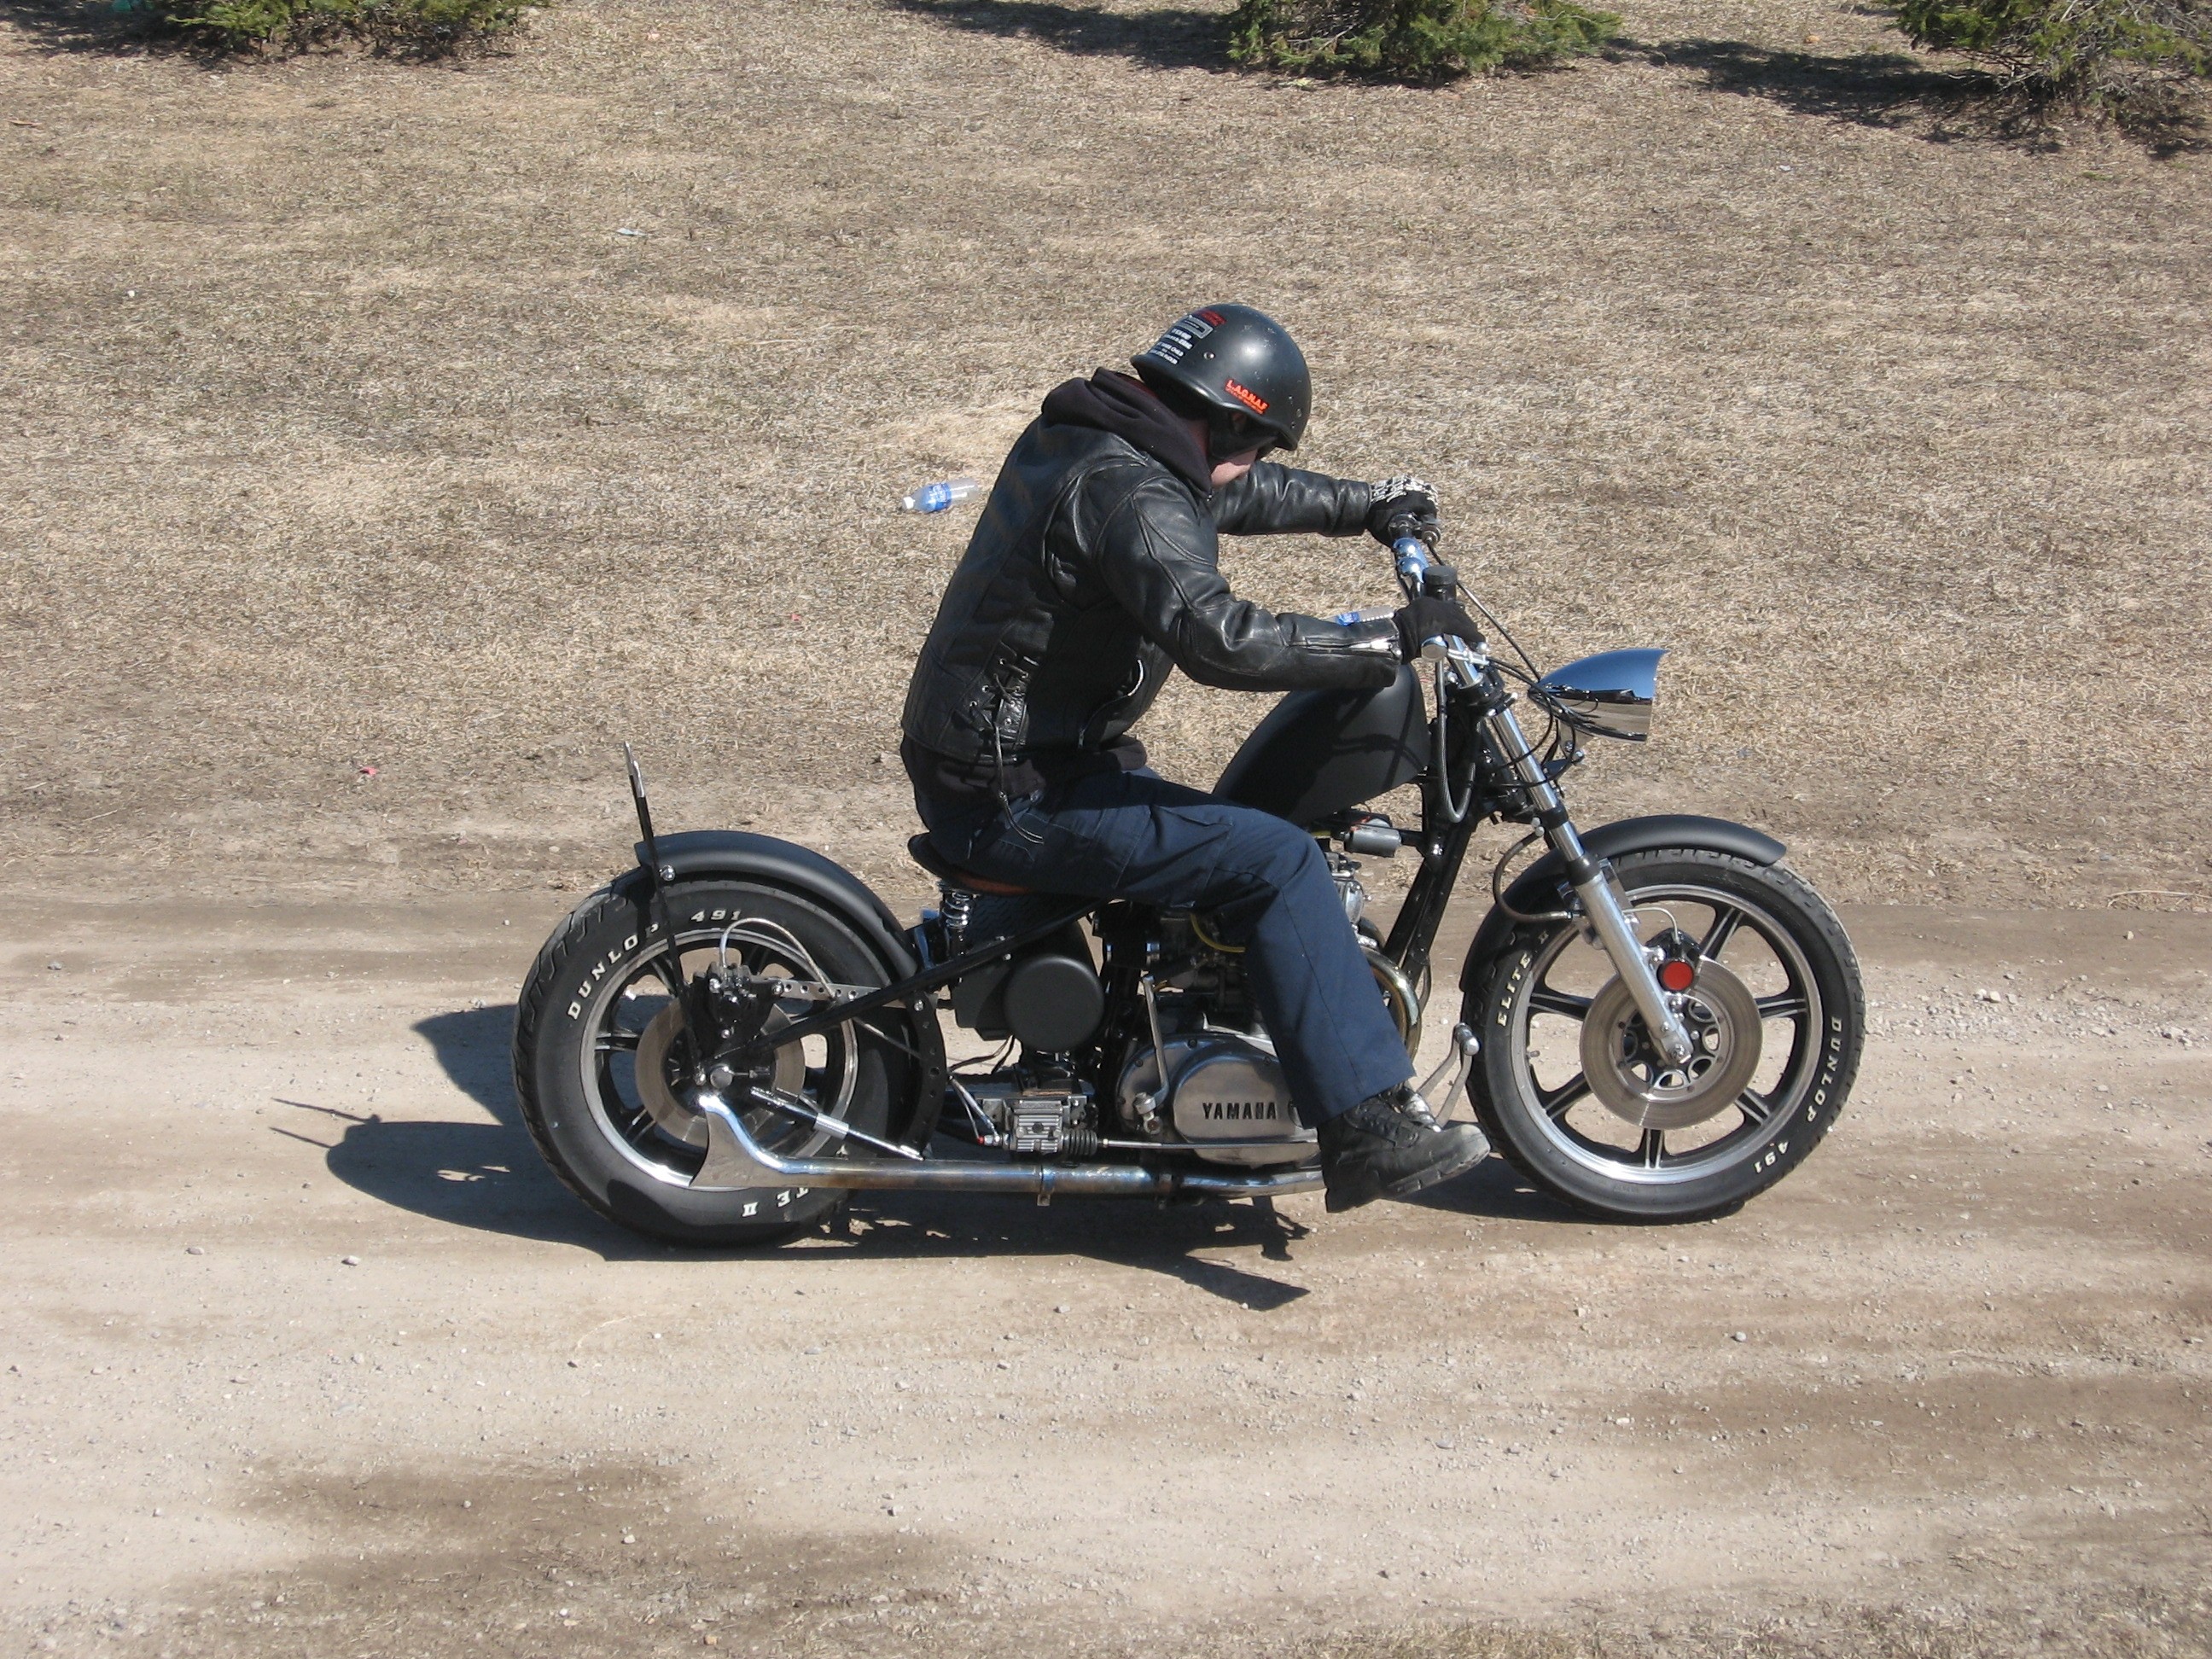
![noid-fongbros_dangerous[1]](https://xs650chopper.com/wp-content/uploads/2009/12/noid-fongbros_dangerous1.jpg "noid-fongbros_dangerous[1]")