
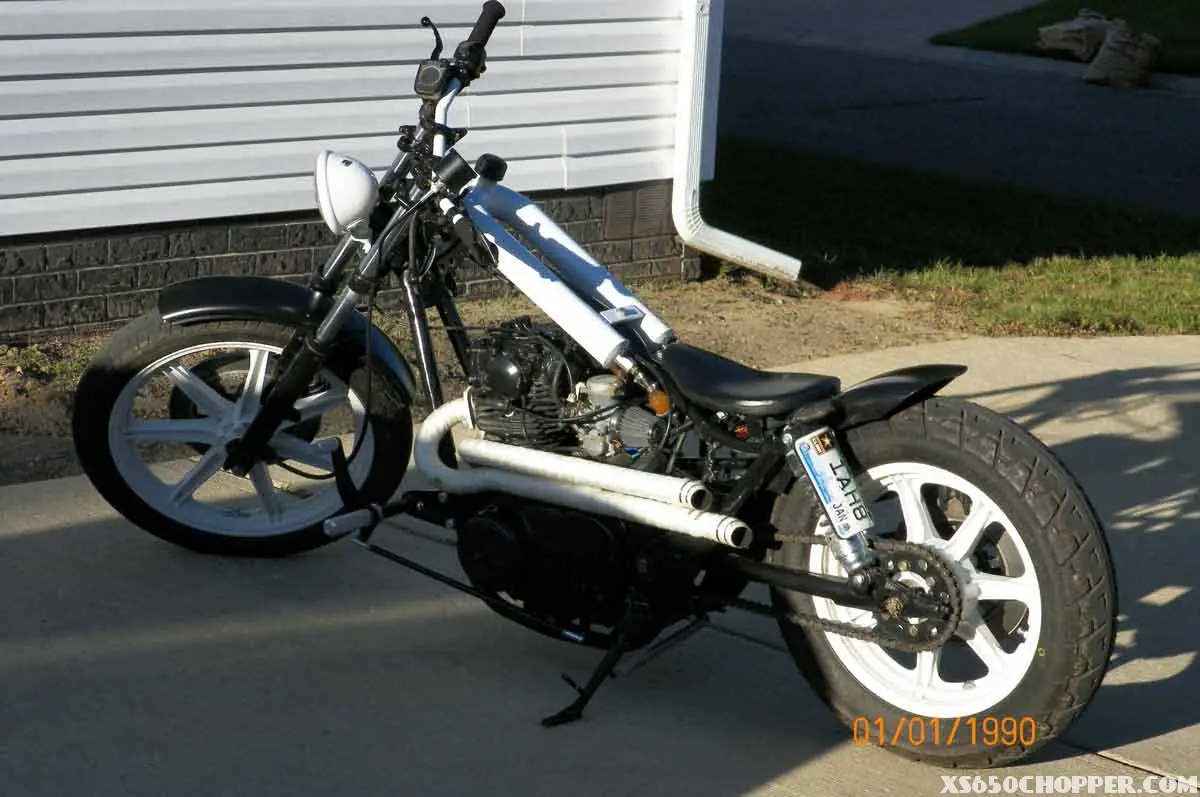
This build started with a couple of barn find Xs. I found 90 min from my house. I ended up going to pick up one and ended up buying two from the guy. A 78′ & a 79′.

This will be my second and third bike builds. My first build I did on a 73 last year. It took me about a little over a year from start to finish. This one took me about five months.

Since I had just recently finished the first build a couple of months before I started this one, it made it a lot easier because I knew where to get all of the products and I knew exactly what I wanted to do with the bike.

This bike has a TC bros hard tail and forward controls.

Custom, lighting brackets, battery box, and ignition box were made by myself. I used a Scrap Honda cab registration box for the key switch. Installed a new Boyer electronic ignition.

Rebuilt the carbs. New master cylinder. Custom seat pan I made.

Though the engine already had good compression I ended up doing a Top end engine rebuild because I had a Leak out of the head gasket.

This was the first time I ever opened up an engine in my life.

I did a ton of research, and I really had fun with it. The new gas tank I had sealed with red coat at a local radiator shop.

The rear fender and mounts were made by me.

My first build, I went way over budget because a lot of things I bought and damaged and couldn’t return, they wouldn’t work with the bike or I didn’t like them EXT.

With this build, I was planning on using some of the parts I had purchased for the first bike which I did.

I’ve been keeping a tally of my total cost. Just because I wanted to know where I was at.

Once I got to the end of the build, where it was ready to strip down for paint, and Powder, I decided that I didn’t want to blow up my budget again hiring someone else to do the powder and paint.

I ended up choosing to do chassis paint on the frame. Used POR 15 rust encapsulating chassis primer and chassis black paint.

It ended up coming out really nice, more durable even than I thought. Next, I decided I was going to tackle painting the tins. First time I have ever painted something this size.

I made a small paint booth at my shop and purchased rattle cans with candy root beer paint.

Now I know normally with candy paint you would put a silver metallic undercoat, I ended up just using gray automotive self etching primer.

When sprayed the candy paint, it ended up coming out really nice, but it does not look candy.

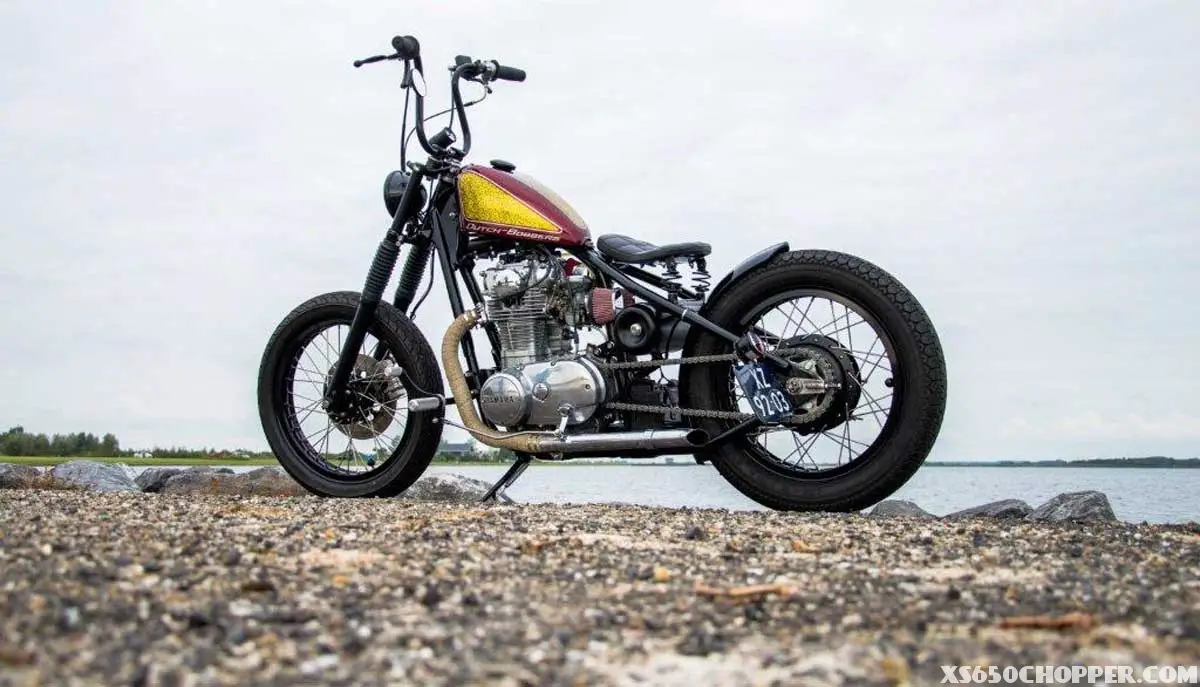
All in all, I’m still very happy with the way the bike came out. I finished it just before our first snowfall here in New Jersey so I haven’t been able to ride it since it’s all been put back together more than a few miles.

It’s for the nice weather to come so I can take this thing for a nice rip.
Submitted by Mike Pecoraro


