Marcel – It wasn’t that I had bit off more than I could chew, I just had to chew a lot longer than I’d planned. Other than a few bolt on mods on my other bike I had never really wielded a spanner or taken a motorbike apart, but after getting into motorbikes a few years ago and developing a taste for classic motorbikes and seeing the beautiful customs that people created on websites like the Bikeshed and Bike Exif I decided to have a go. I’d always had a hankering for an XS650 and when the opportunity arose to get one at a reasonable price I jumped on it and bought a 1978 Yamaha XS650E, a manual and registered with the XS650 forum. The plan was to strip the bike back and rebuild it using elements I’d seen on other bikes and also add some of my own, all in about 6-8 months, ready to ride it down to Wheels & Waves 2014. That didn’t happen….at all. In fact I didn’t even get close. For a perfectionist like myself that can be quite disturbing, but once I managed to just go with whatever the bike threw at me the process became far more enjoyable.
In the end I took me just over a year to get to what you see here and I probably spent far more than I should have. But that’s not what it was about for me. I learned new things (like patience!) and acquired new skills, made new friends and feel a sense of accomplishment. Priceless as they say.
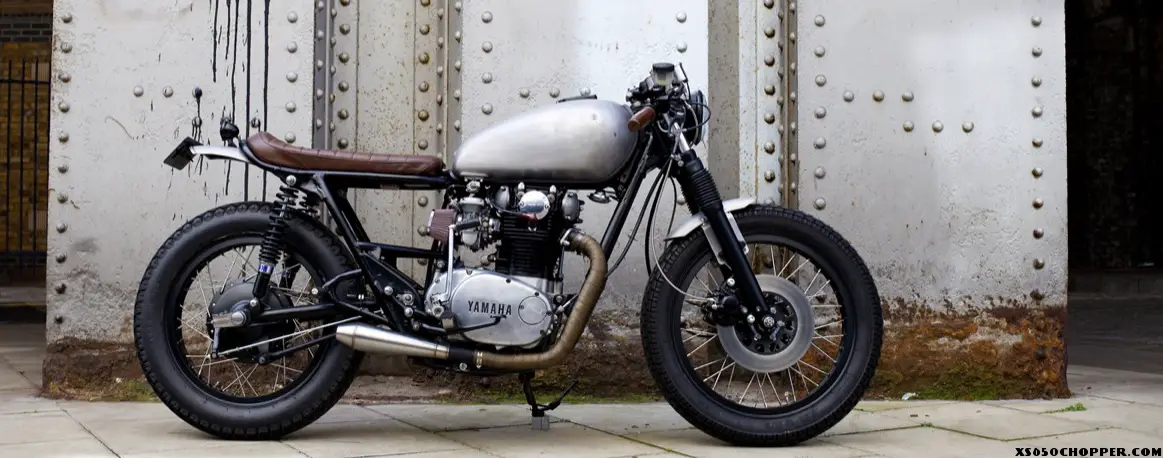
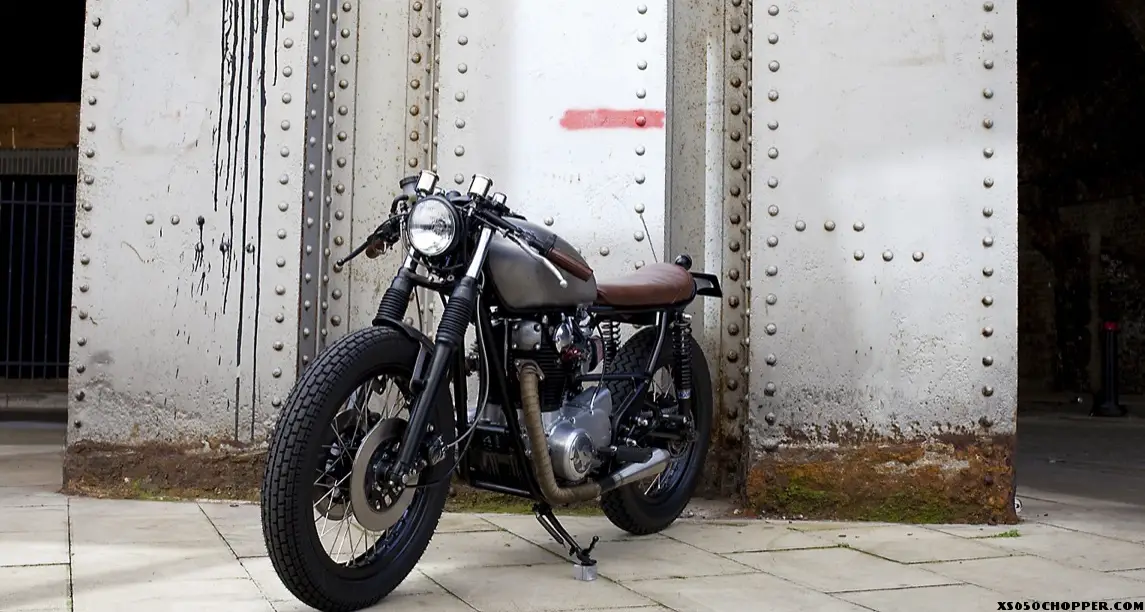
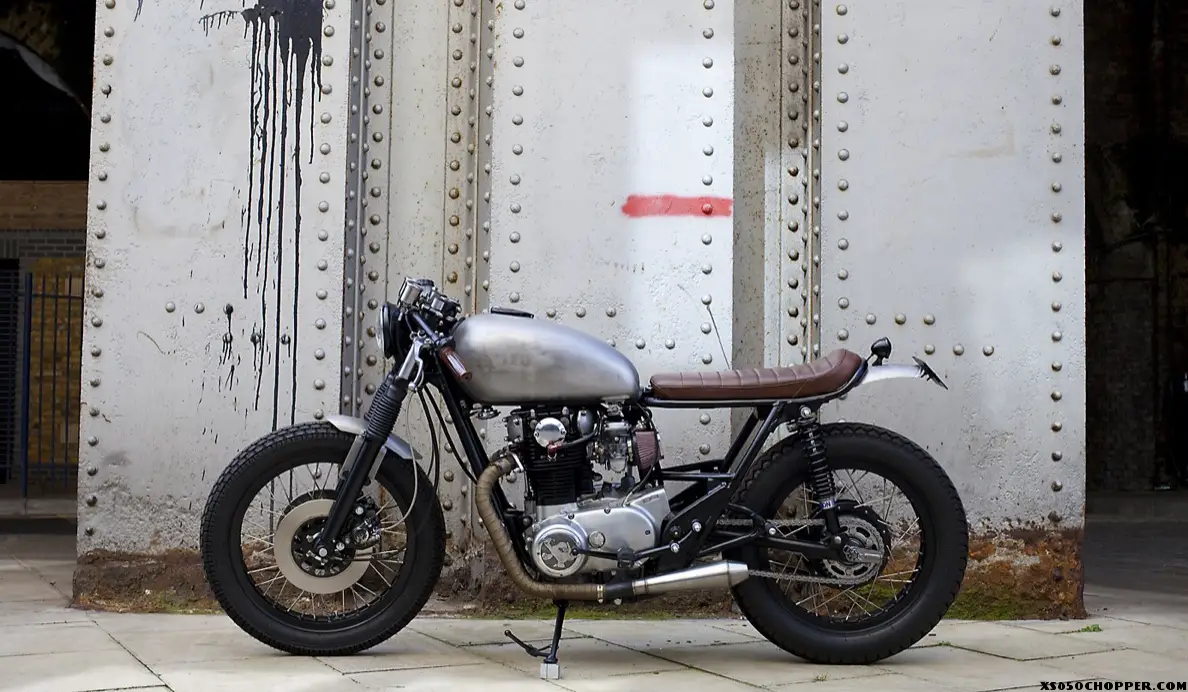
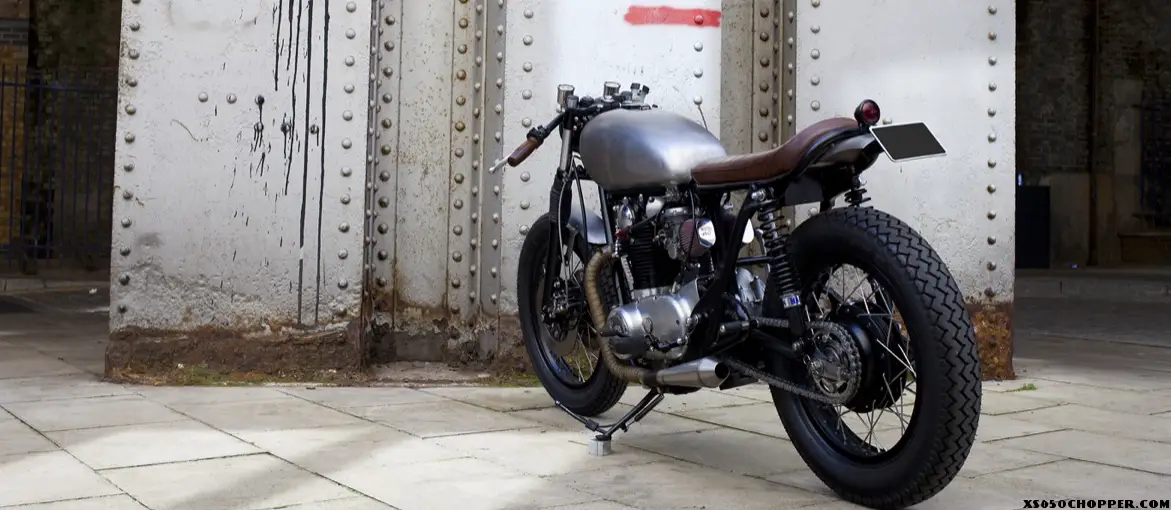
Initially the work went quite well and I had the bike stripped down to the last nut and bolt in about a month. At the time I did not have an idea yet about color scheme or parts, just a general direction. But as I was stripping the bike back and revealed the scars and patina it had earned during its lifetime, I decided that I was going to try and restore as many parts as I could and not try and hide the scars.
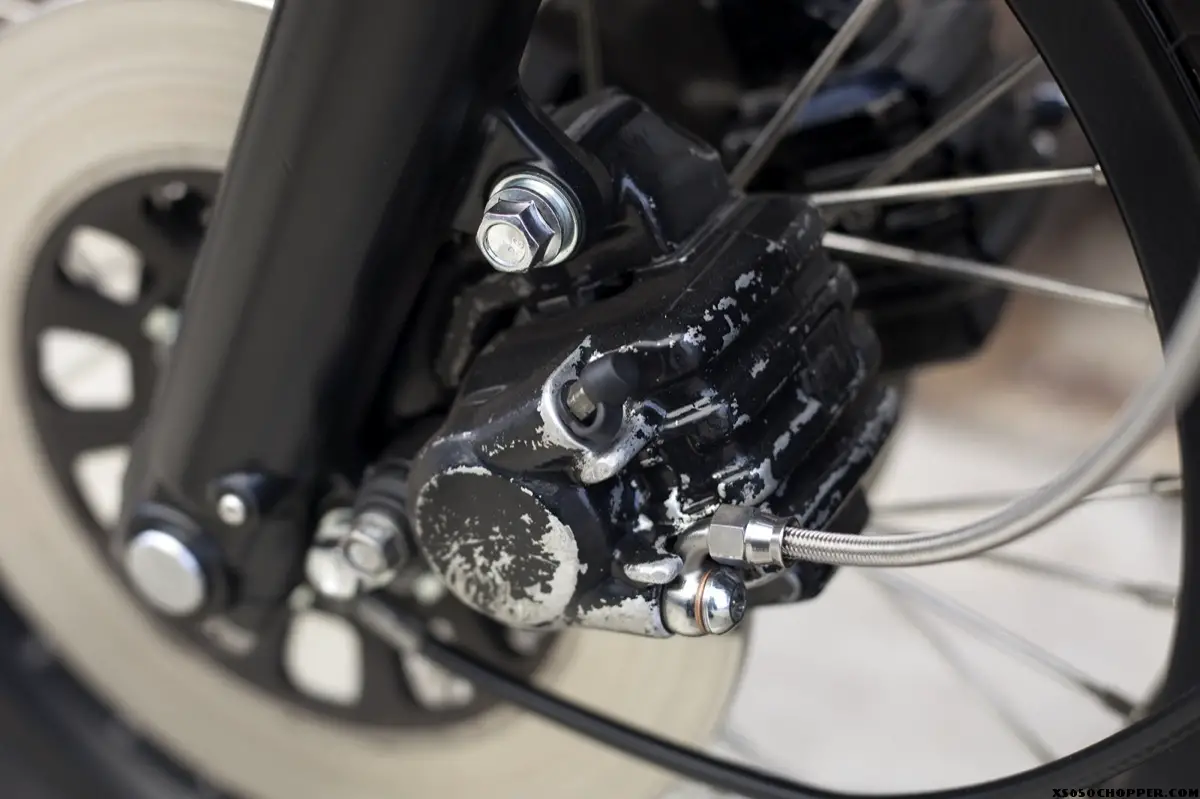
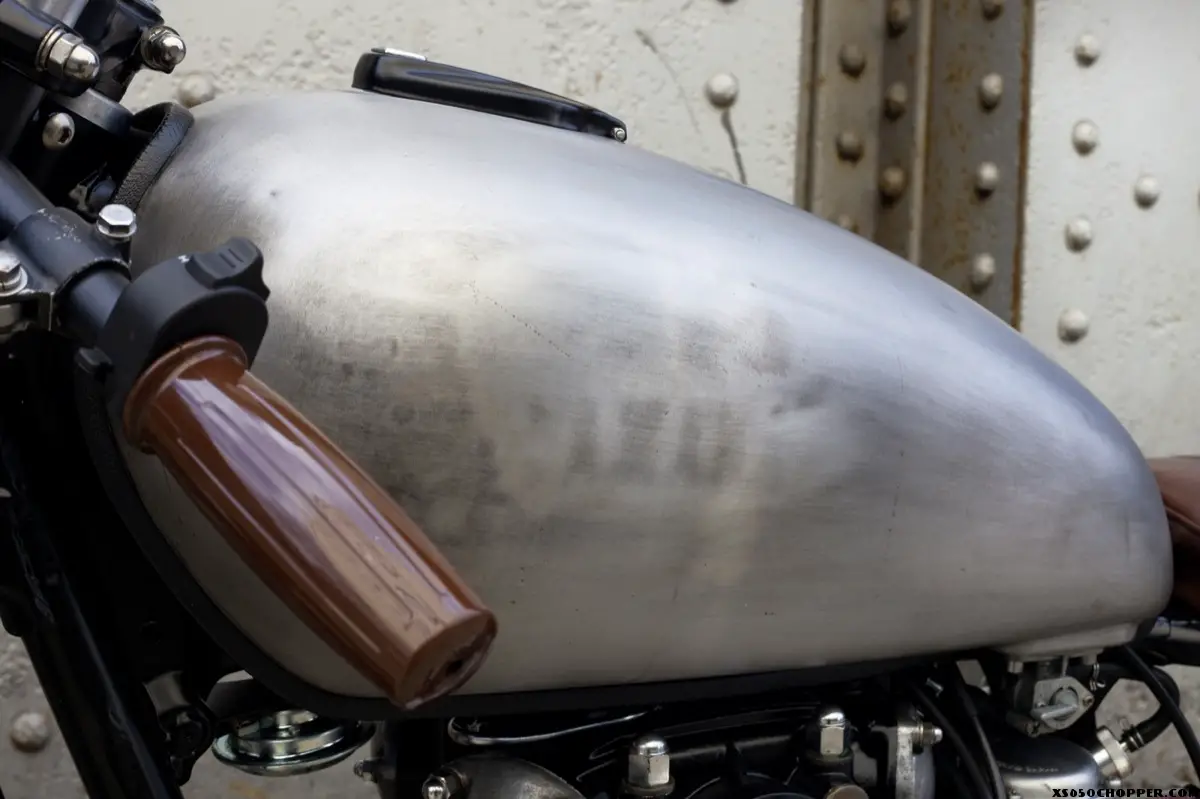
I left the peeling paint on the calipers after I cleaned them up and sealed them in lacquer and although the top half of the engine was cleaned, re-bored and painted, the lower half was just cleaned from the worst muck. The rear mudguard was rusted to shreds, but I managed to rescue a small portion (although it still needed to be patched). When I stripped the tank one side revealed the faint ghosting of where once the name Yamaha had been painted and I decided to leave the tank bare metal to show this and the dents it has.
I tried to do the same for many of the mechanical parts of the bike like the speedo drive, the rear drum brake or the clutch wormgear. All parts taken apart and painstakingly cleaned (earbuds and toothbrushes!), broken parts replaced and repainted if required before re-assembly.
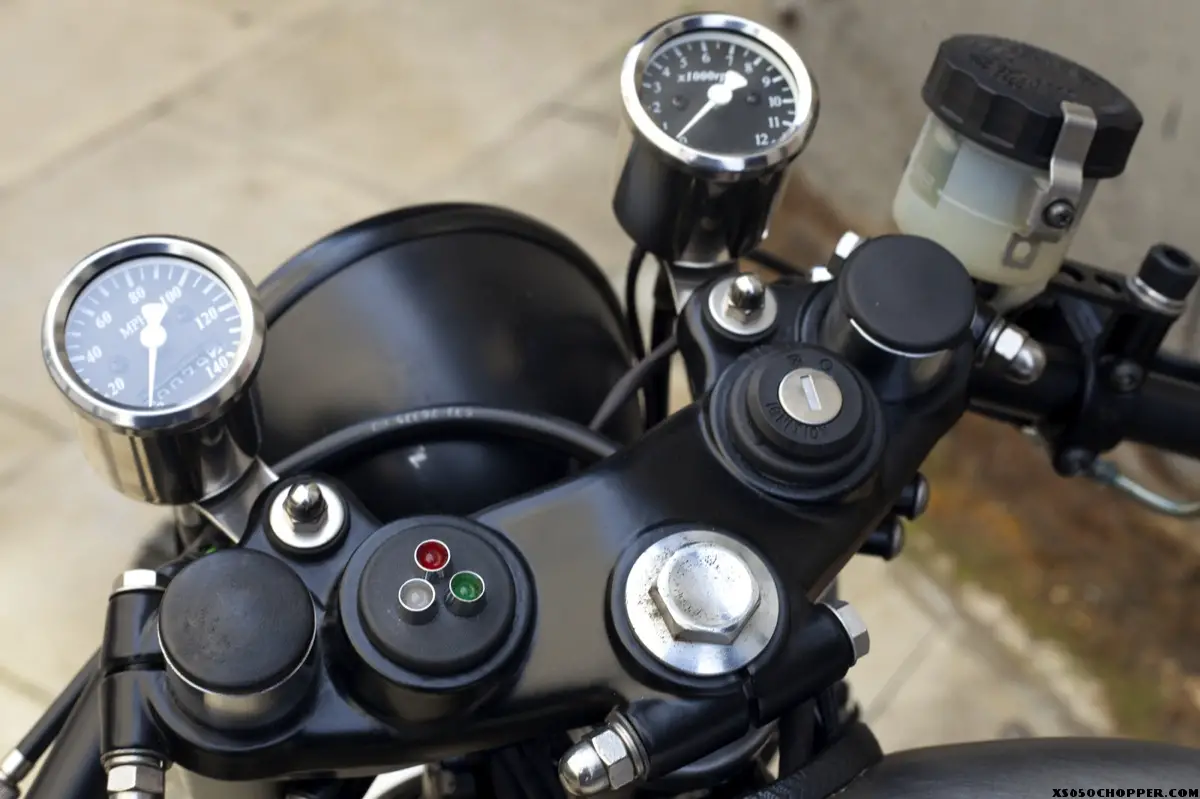
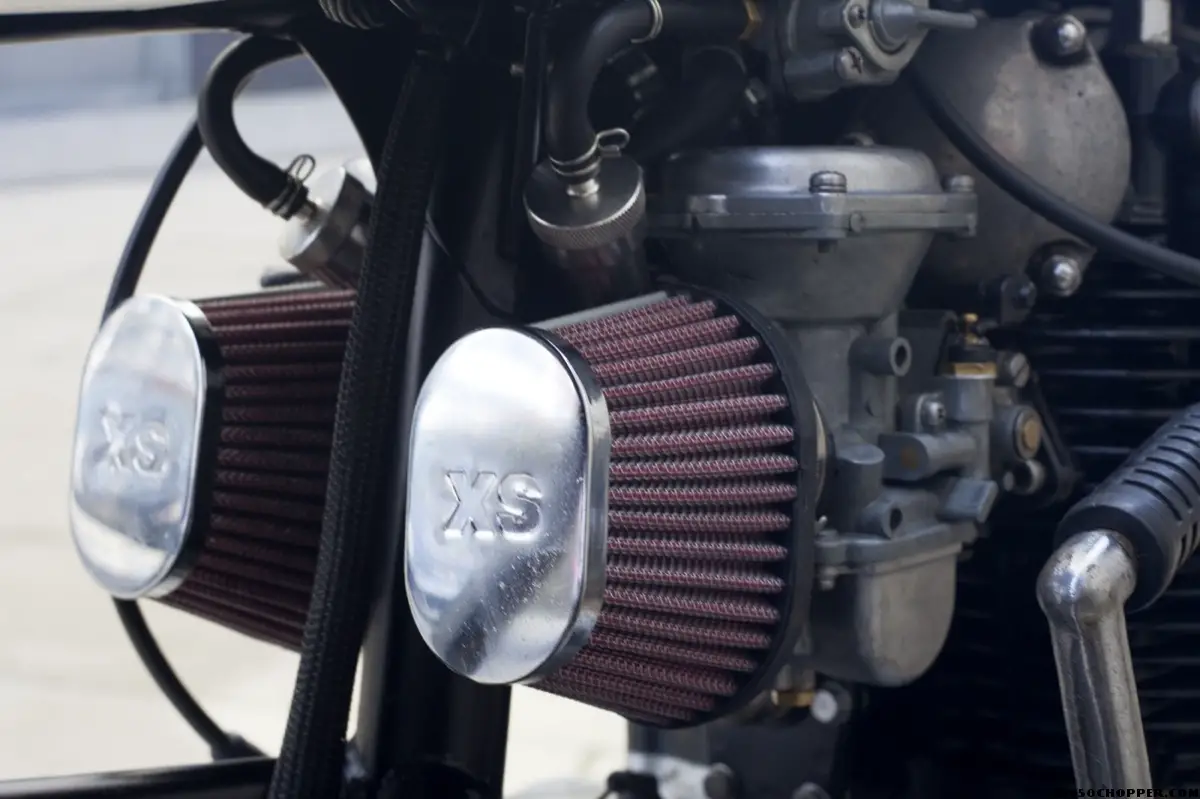
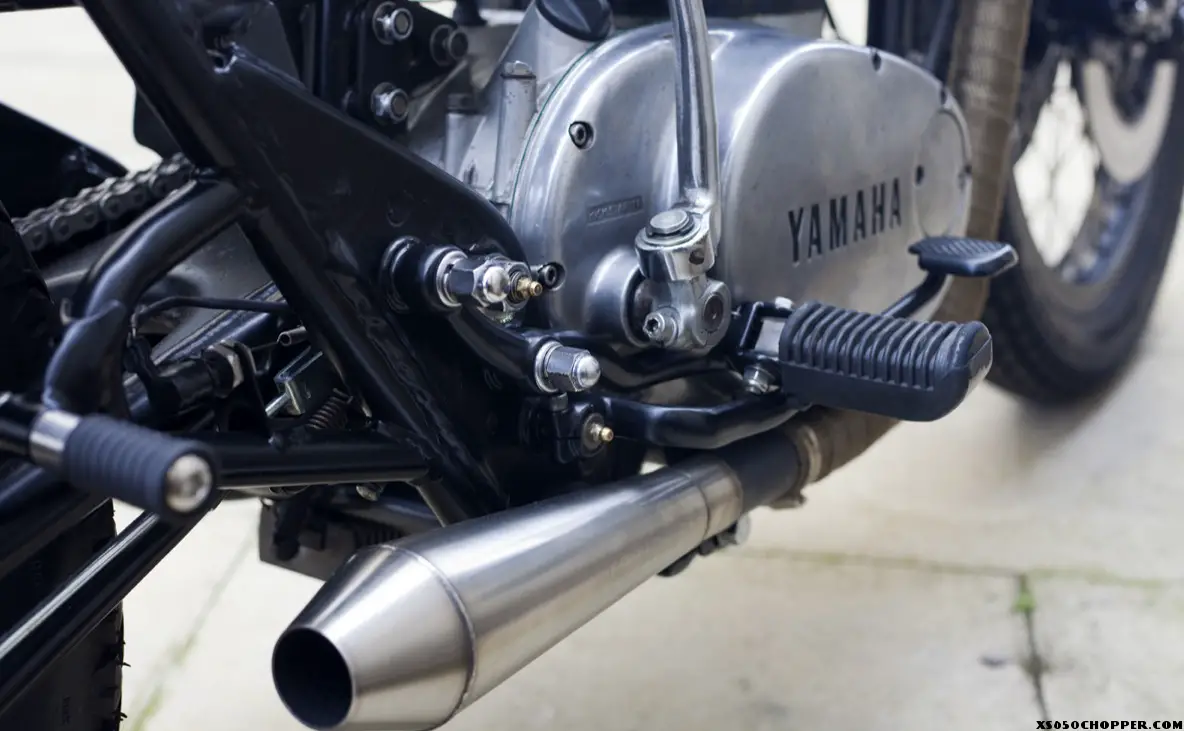
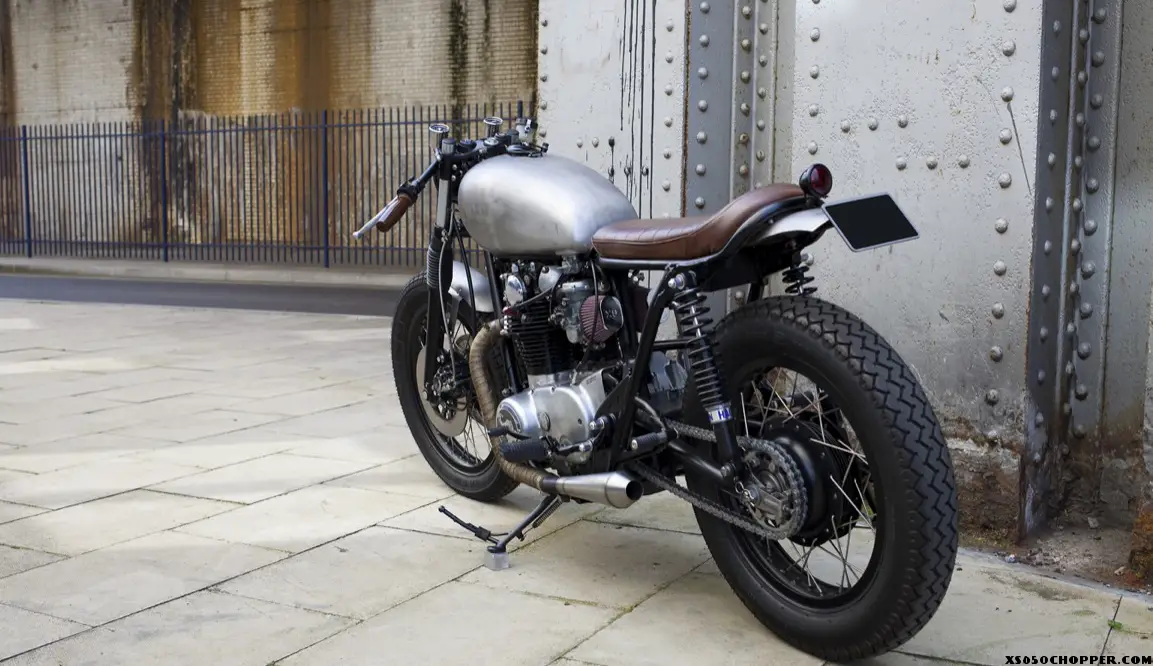
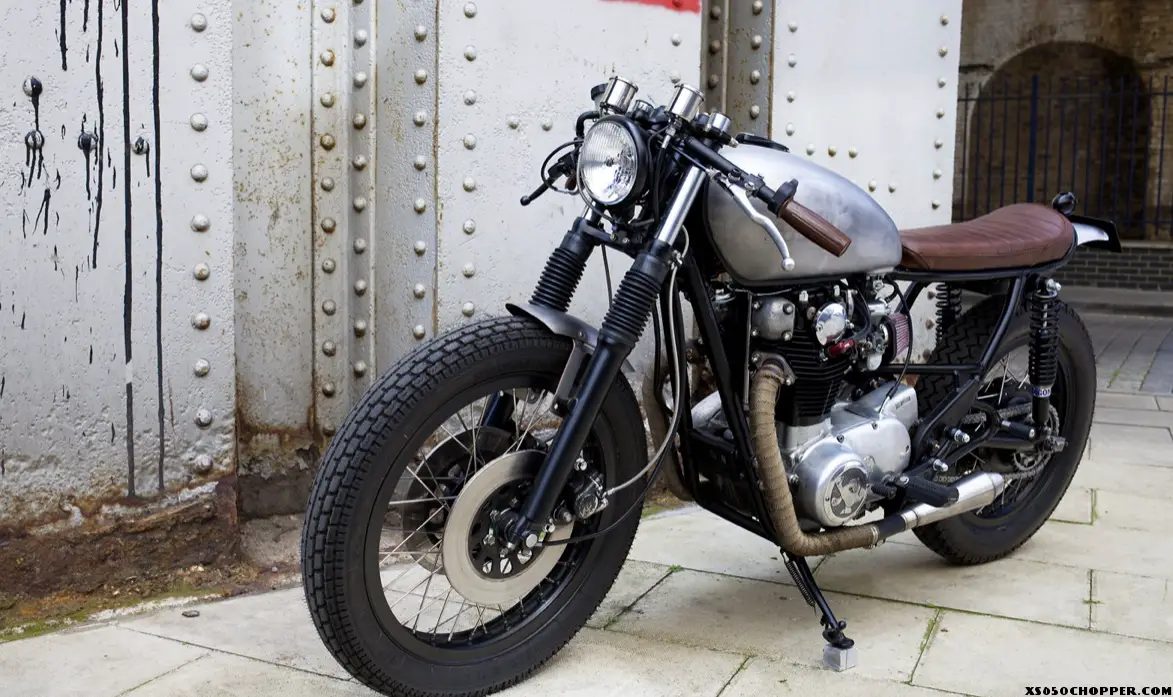
But as much as I tried to stick to this, some things just needed replacing or upgrading. The Cylinders were rebored with new pistons, new oil and sumpfilter, new gaskets, new (old) clutch basket with new clutch plates, new header pipes and mufflers, carbs cleaned with news seals and main jets, new front brake master cylinder, new brake caliper pistons and pads, new spokes, bearings and tyres for the wheels, new front and rear suspension, small speedo and tacho, Bates style head and rear light, Boyer micro digital ignition, tiny Shorai battery and a complete new wiring loom built from scratch by myself. Although I wanted to stick to original parts as much as I could, I sometimes had to be creative to achieve what I wanted.
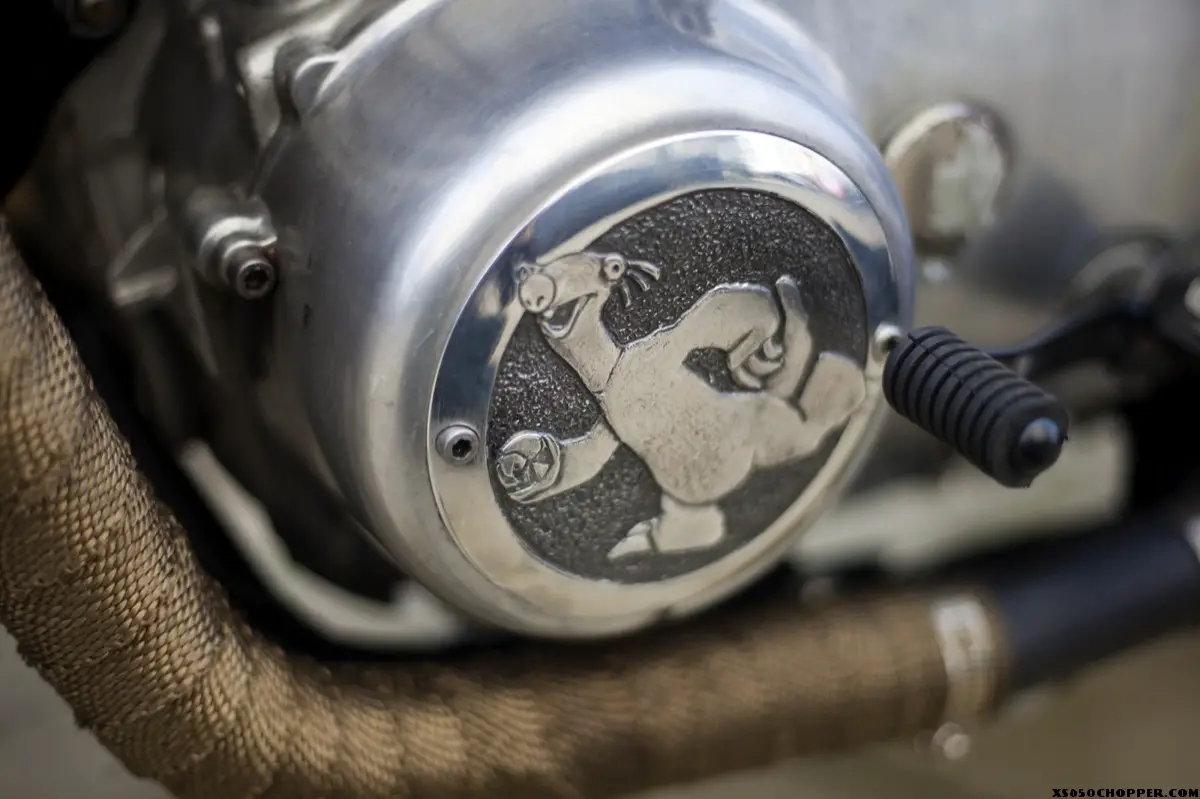
For that reason it has passenger pegs made from Harley Sportster shifter pegs, a Honda CBR600 starter solenoid, irrigation piping to create the oil breather system and table feet to hold the idiot lights and key ignition in the top yoke!
When the bike was completely stripped I got to grips with the frame itself. After de-lugging it a new seat pan/battery box was made and a whole bunch of parts went to the powdercoater to be finished in a satin black. Once all those parts were back (which took quite a bit longer than I had planned), reassembly started. And so did the ‘learning experience’ or ‘pains in the proverbial’ as I like to call them. It was bearings and oil seals initially. First I had trouble getting them out and now it was a bit of a struggle getting the new ones back in. The new needle bearings in the swingarm possible being the biggest pain and only after ruining one set (expensive!!) the finally fitted in.
And once I had the rolling chassis going, the engine came back and assembly progressed reasonably well. One of the brake calipers developed a leaking bleed nipple when I started bleeding the brake system. Unfortunately it could not be saved, but Ebay b(r)ought a solution. The next issue was getting the bike started using a new battery, new (thoroughly researched) wiring loom, new plugs and new Boyer micro ignition.
So in theory it should be easy. It wasn’t. At all. After checking everything more than once and redoing the wiring loom it turned out I was unlucky enough to have a faulty Boyer box. But the nice people at Boyer exchanged it, no questions asked. The bike rumbled into life and not long after that it was successfully MOT-ed!
However. this was not the end of it. In fact I probably spend more time ironing out gremlins since then I spend on reassembling the bike! It started as soon as riding it back from the MOT. Back home I noticed it was leaking oil, badly. Eventually I traced the source to an oil feed line that had not been tightened enough, but while I was looking I discovered a snapped bolt in one of the inspection covers. As it had already been helicoiled in the past, it made it a very nerve racking procedure to get it fixed. Then the clutch decided it didn’t like being in first gear and would stall the engine each time (it also didn’t like selecting anything above second gear), so the clutch had to come out again. In the end re-aligning the gear selector and replacing the clutch worm gear and pushrod and some new clutch screws thrown in for good measure seem to have fixed that issue. Next it turned out that the battery wasn’t charging and after a lot of prodding with a multimeter it turned out the stator was grounding out. Luckily I was able to source an original working one, added some new brushes and that issue was resolved as well.
But through all that one issue kept cropping up. And this time it was not the bikes fault. It was mine. It turned out that I was a bit crap at kickstarting the bike. I had planned to make to bike as minimal as possible and make it kickstart only, but not being able to start the bike was becoming an issue. Kickstarting looks cool, but only if you can do it in 2 or 3 goes. I admitted defeat and managed to get a secondhand starter from Ebay and gave it the refurbishment treatment with new brushes, seals and paint and rewired the bike (again) to include the starter, starter relay and the all important starter button!
Which brings us to where we are now. The bike is running and I’ve taken it for a few spins already. There are probably still a few minor things to sort out, but I can actually ride it….with a great big grin on my face.
I’m not sure I would call this a shed build as I don’t have a shed or my own garage. Most of the work was done in the communal garage underneath the building I live in. I did the grinding of the frame on my second floor balcony midwinter and all the cleaning at my dining table in the living room. The initial assembly of the bike (until the wheels went on) happened in my kitchen and my spare bedroom served as tool shed and parts store! Sometimes a bit of a drag, but it did mean I always had to tidy up and stay organized.
Obviously I tried to do most of it on my own, but on some occasions I had to resort to ask some people who actually know what they are doing for some help. You know who you are!
Was it worth it? Financially probably not, but on every other level it was. Would I do it again? I have a 1979 BMW R80 waiting already….so watch this space.