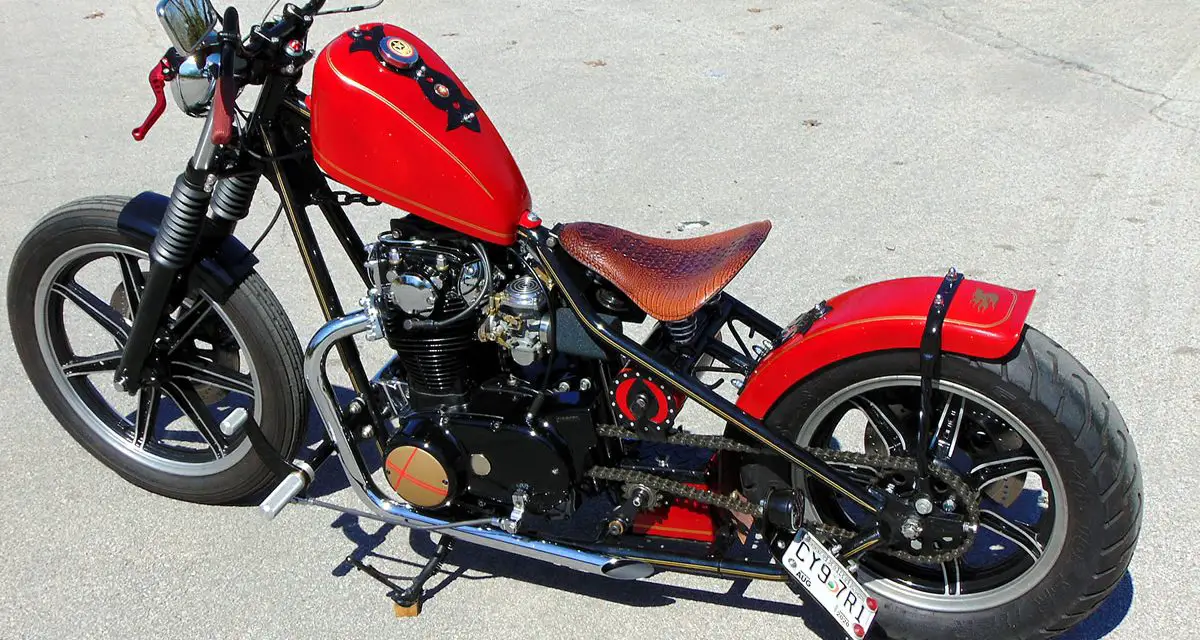
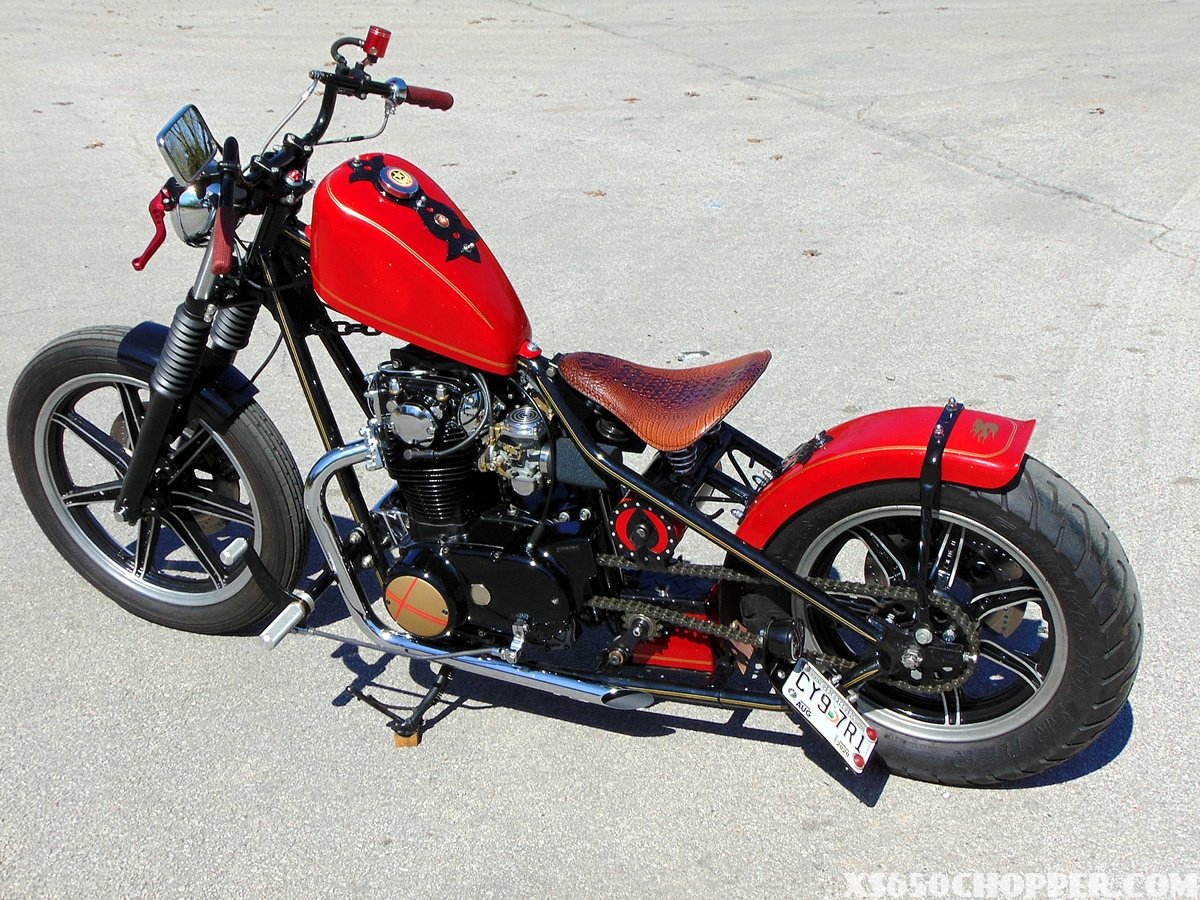
This 1978 build was begun who-knows-when by a long-forgotten owner in Kansas. A painter by trade, he did all the welding using off-the-shelf parts, and then powder-coated everything. And, a good job he did, with some nice welded customizations and solid paint work, especially the double gold pinstripe throughout.
And then the bike languished. Who knows what misfortunes befell the original builder?
Some 25 years later, the roller-with-an-engine was purchased for a song and moved to Texas. Owner #2 tried to finish the bike out, and pretty much ruined everything he touched. Realizing that he was in way over his head, he sold the bike to me.
Finishing the bike consisted of correcting owner #2’s mistakes and replacing his ill-advised appointments. And, adding ignition, charging, lighting, wiring, brakes, and all the trimmings, while trying to keep the bike true to the original owner’s vision. I think it has a cool old-school vibe that underscores its 25-year old roots.
That’s the short and sweet story of this bike.
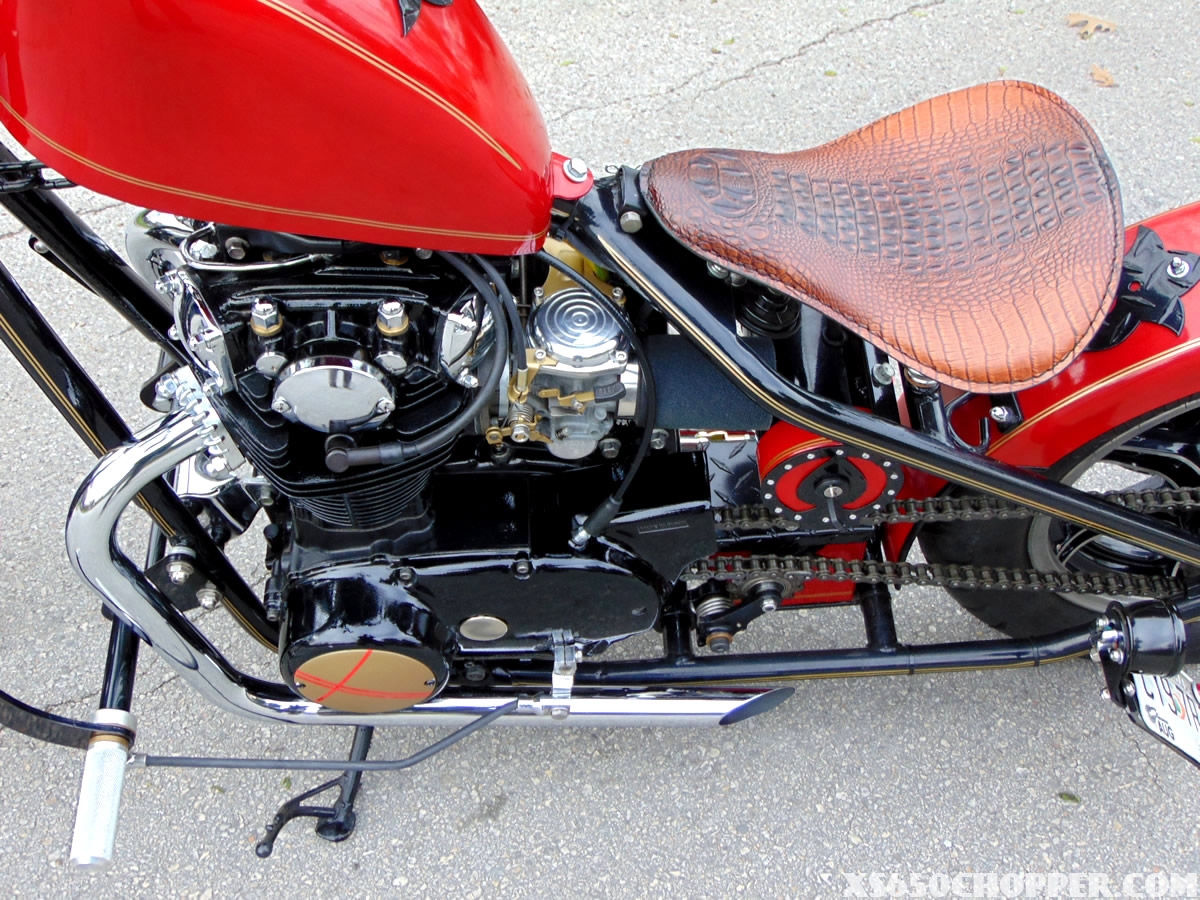
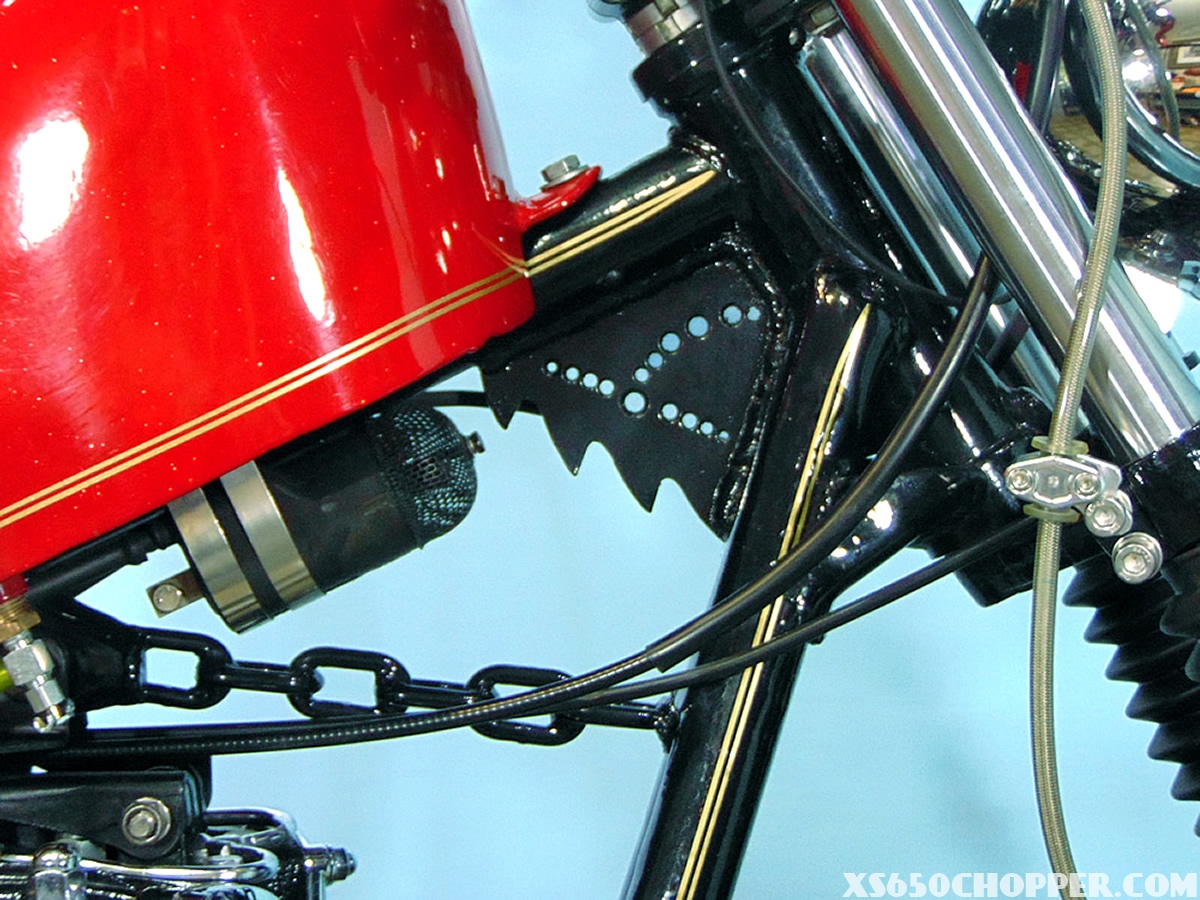
One of the worst problems that I encountered was a mistake made by the original owner/welder. He placed the fake oil bag-electronics box too low, so that it was dangerously close to the chain. Owner #2 attempted to address this by adding an awful chain guide that he attached to the left-side down-tube with a big, ugly hoseshoe bolt.
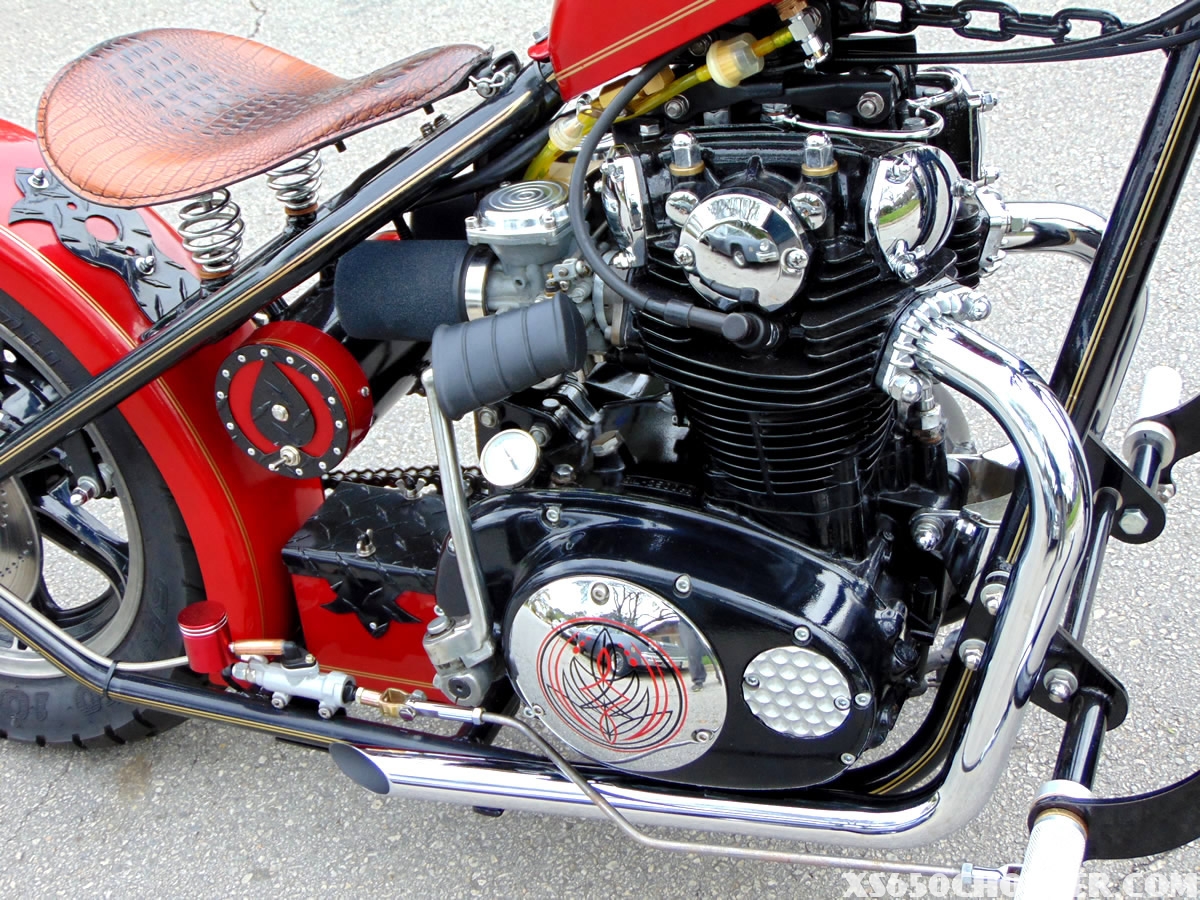
After removing that mess, my solution was to add a Delrin rub block for the chain to the bottom of the electronics box, and to add a chain tensioner to keep chain flop to a minimum.
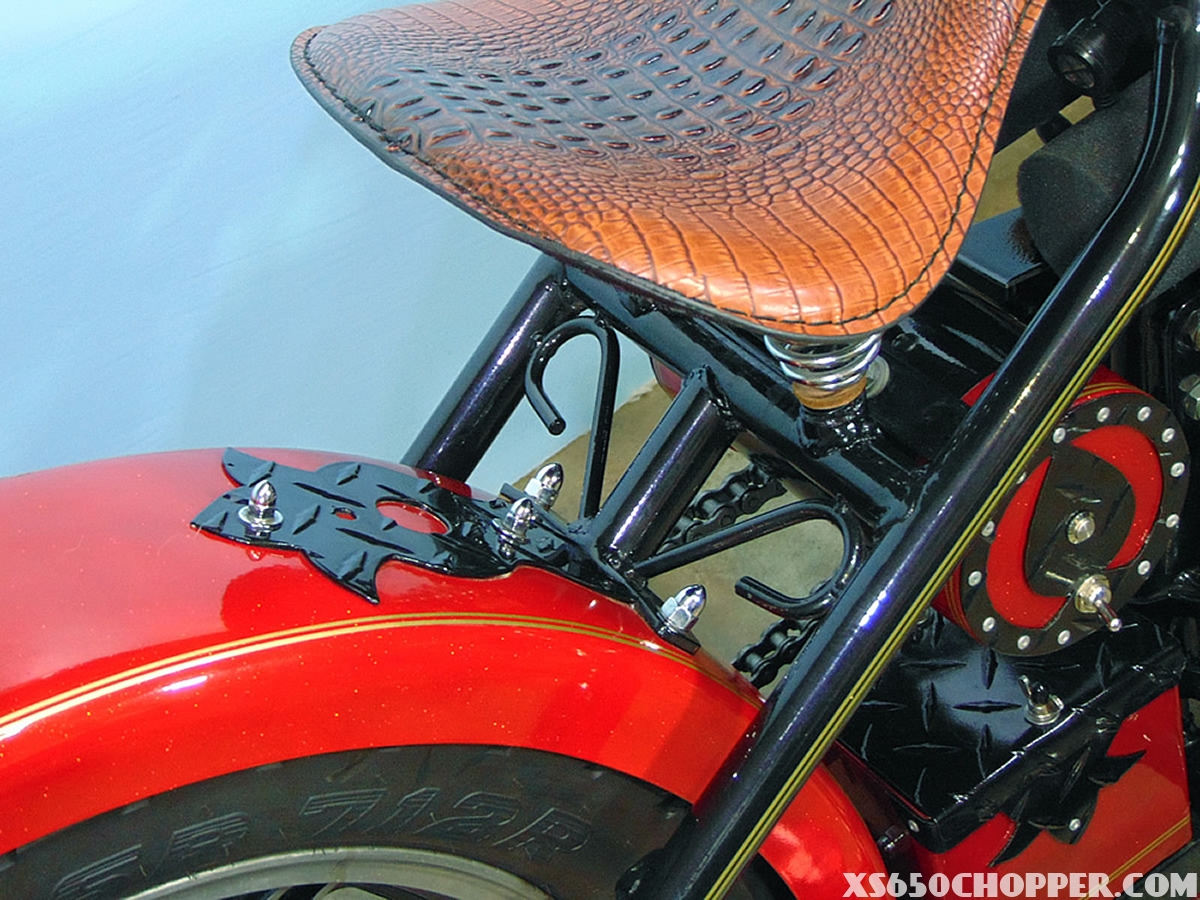
Another sore spot was the seat. As I got it, the bike had a god-awful seat mounted in a god-awful manner. It took a bit of work to get a nicer seat to cooperate with the existing mis-placed seat bungs.
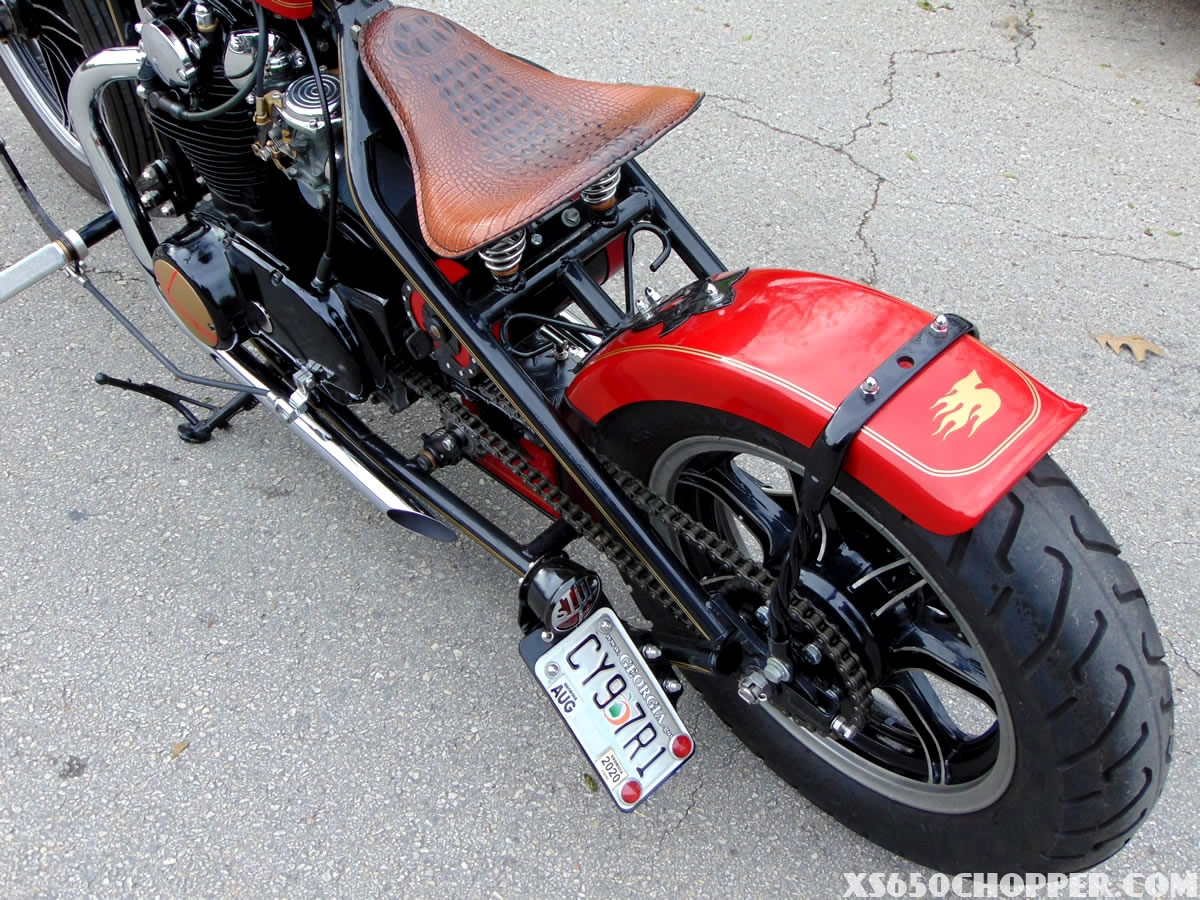
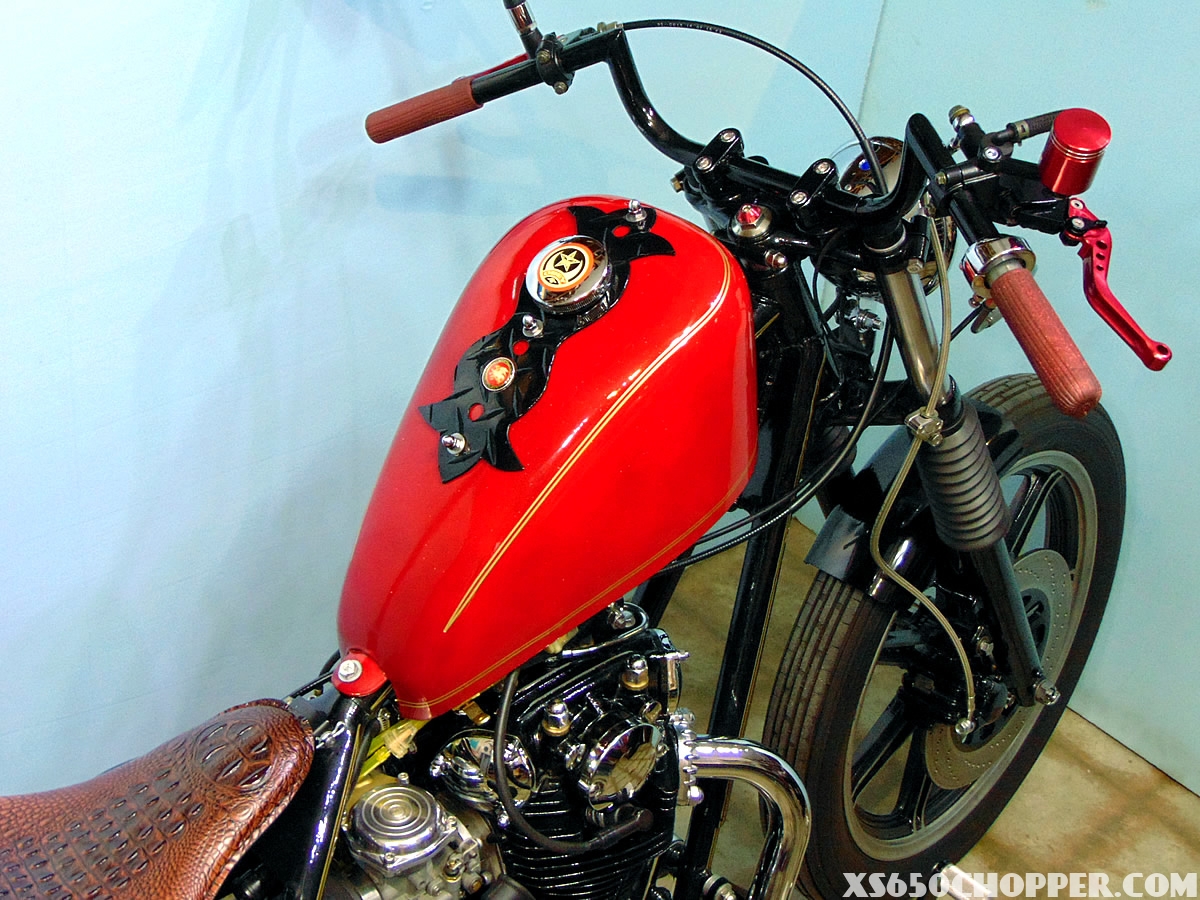
A goal of mine was to see how little money I could spend, while still maintaining meticulous attention to detail. The only equipment on the bike that I could I tolerate keeping were the handlebars and the handlebar levers. Not the greatest levers, but they don’t look too bad, and they work okay. The rear brake master cylinder is a cheap universal eBay find. I also found a reservoir for the rear M/C that exactly matches the existing front M/C. I made custom brake lines front and rear – the rear line which precisely hugs the frame came out especially nice. The front line is held to the bottom triple with a trick little modified cable clamp as shown in pic #6
Wiring was kept to an absolute minimum. There is a key switch on the left-side of the electronics box. On the right side of the box I mounted a momentary-contact push button for the horn, and a LO/OFF/HI toggle switch for the headlight. That pretty much covers the electrics. The engine is kick-only, as received. And, completely street-legal.
I acquired those sweet grips in a trade some 10 years ago. They look like vintage bicycle grips, but they’re sized for a motorcycle. I’ve tried, but have never been able to source them. Just glad that I finally found a good use for them.
Owner #2 sold the bike to me for what he paid. I’d reveal how little I have in the build altogether, but I’m afraid of the push-back I’d receive when the time comes for me to sell it…
Submitted by William Melstrom


