
You save time and money on a buzz cut by setting a trim schedule, using your clippers consistently, and handling simple upkeep at home.
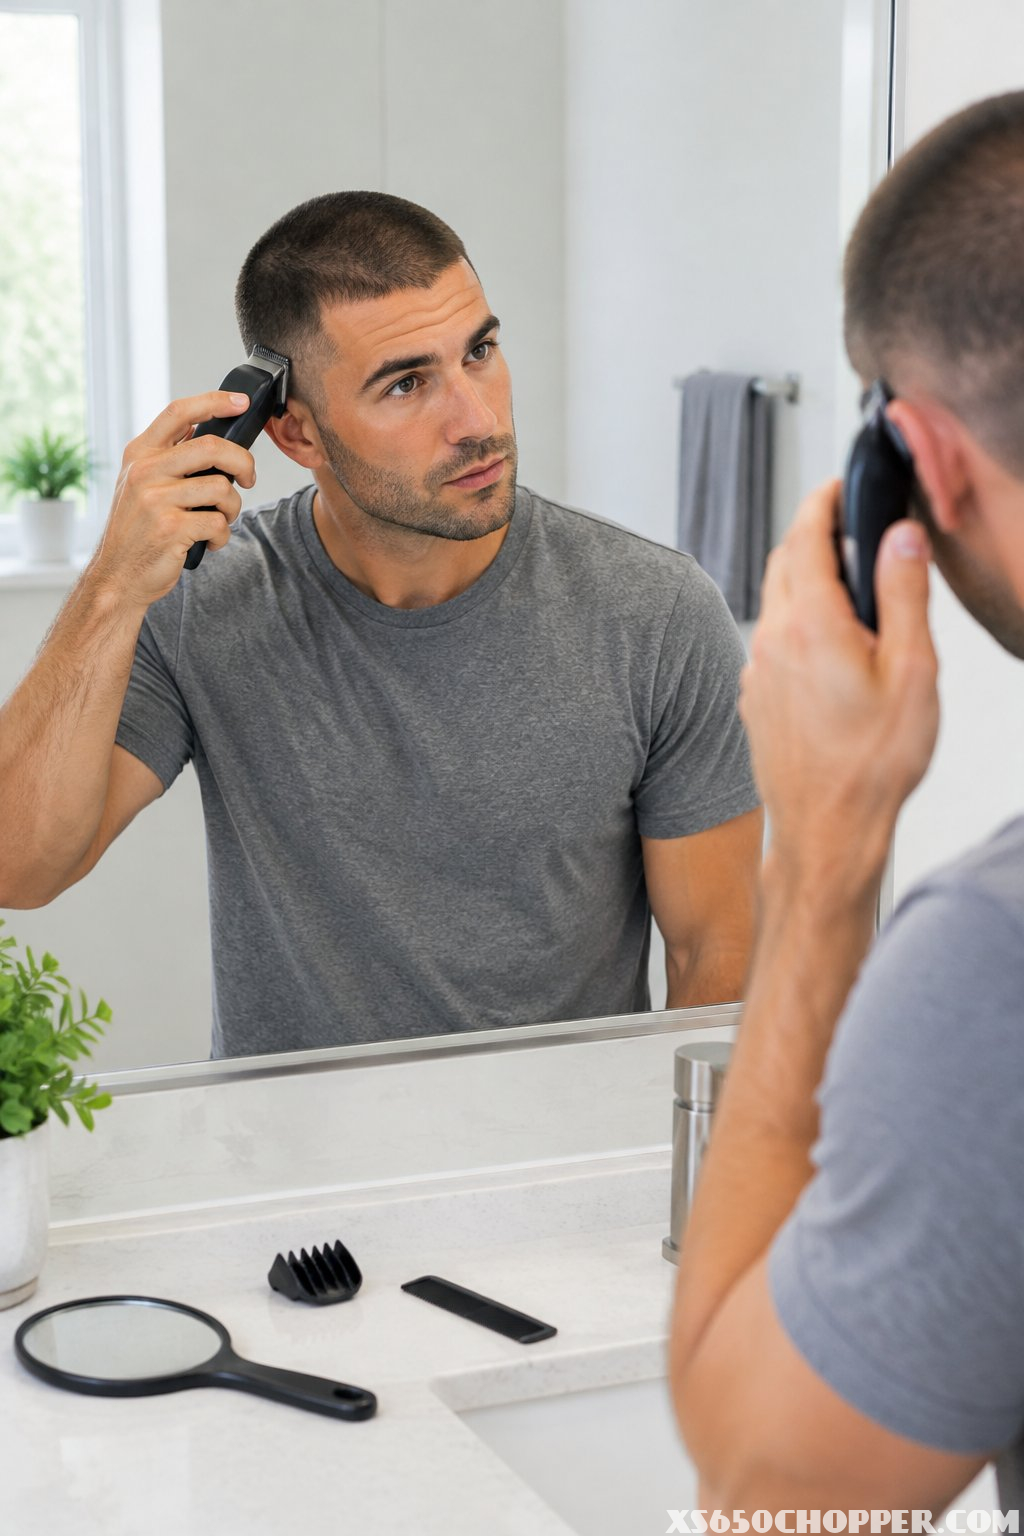
A short cut still needs regular attention: a few minutes of upkeep can keep the shape tidy and help you stretch the time between barber visits. Your ideal routine depends on your guard length, how quickly your hair grows, and whether you wear a fade.
1) Set a Trim Schedule Based on Your Guard Length
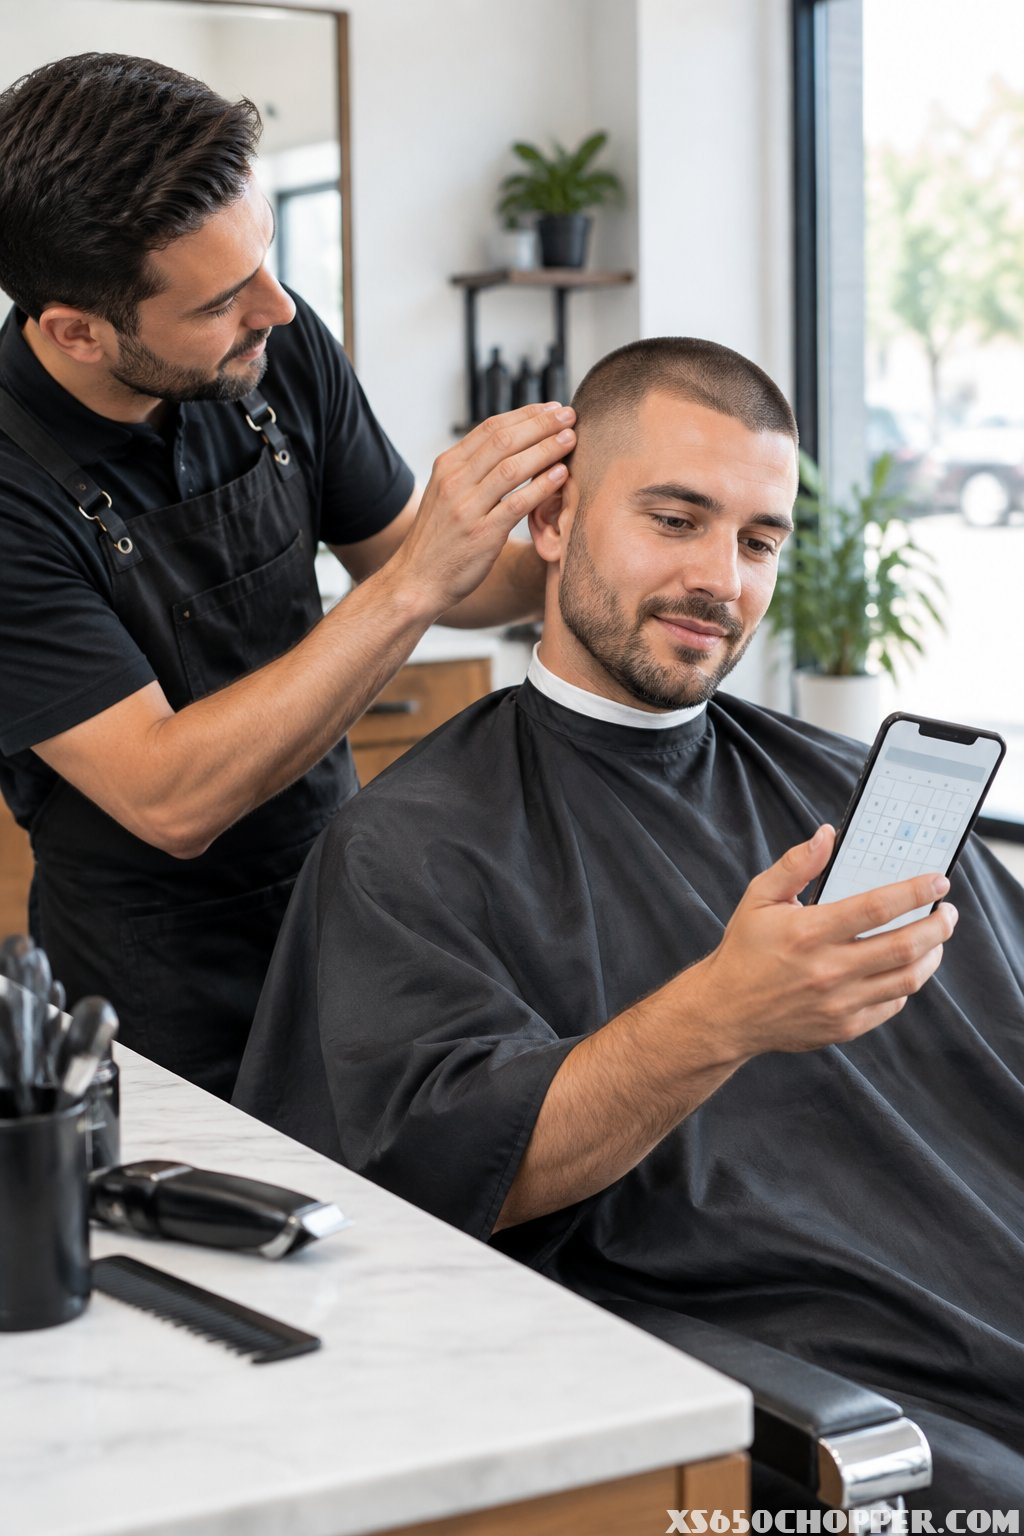
Match your trim interval to your guard length and the amount of regrowth you’re comfortable seeing. A very short cut shows growth sooner, while a longer guard gives you more room between trims.
For a #0 or #1, start with a trim every one to two weeks. A #2 to #4 often stays tidy for about two to three weeks, while longer guards can go three to five weeks before a full refresh. Treat these as starting points and adjust based on your growth and preferred look.
If you wear a fade, plan for more frequent cleanup around the sides and neckline. A calendar reminder helps you trim before you feel pressed to fix uneven growth in a hurry.
PRO TIP
Take a quick photo after each fresh cut. Comparing it with your current growth helps you choose a schedule based on your own hair.
2) Use the Same Guard and Overlap Each Clipper Pass
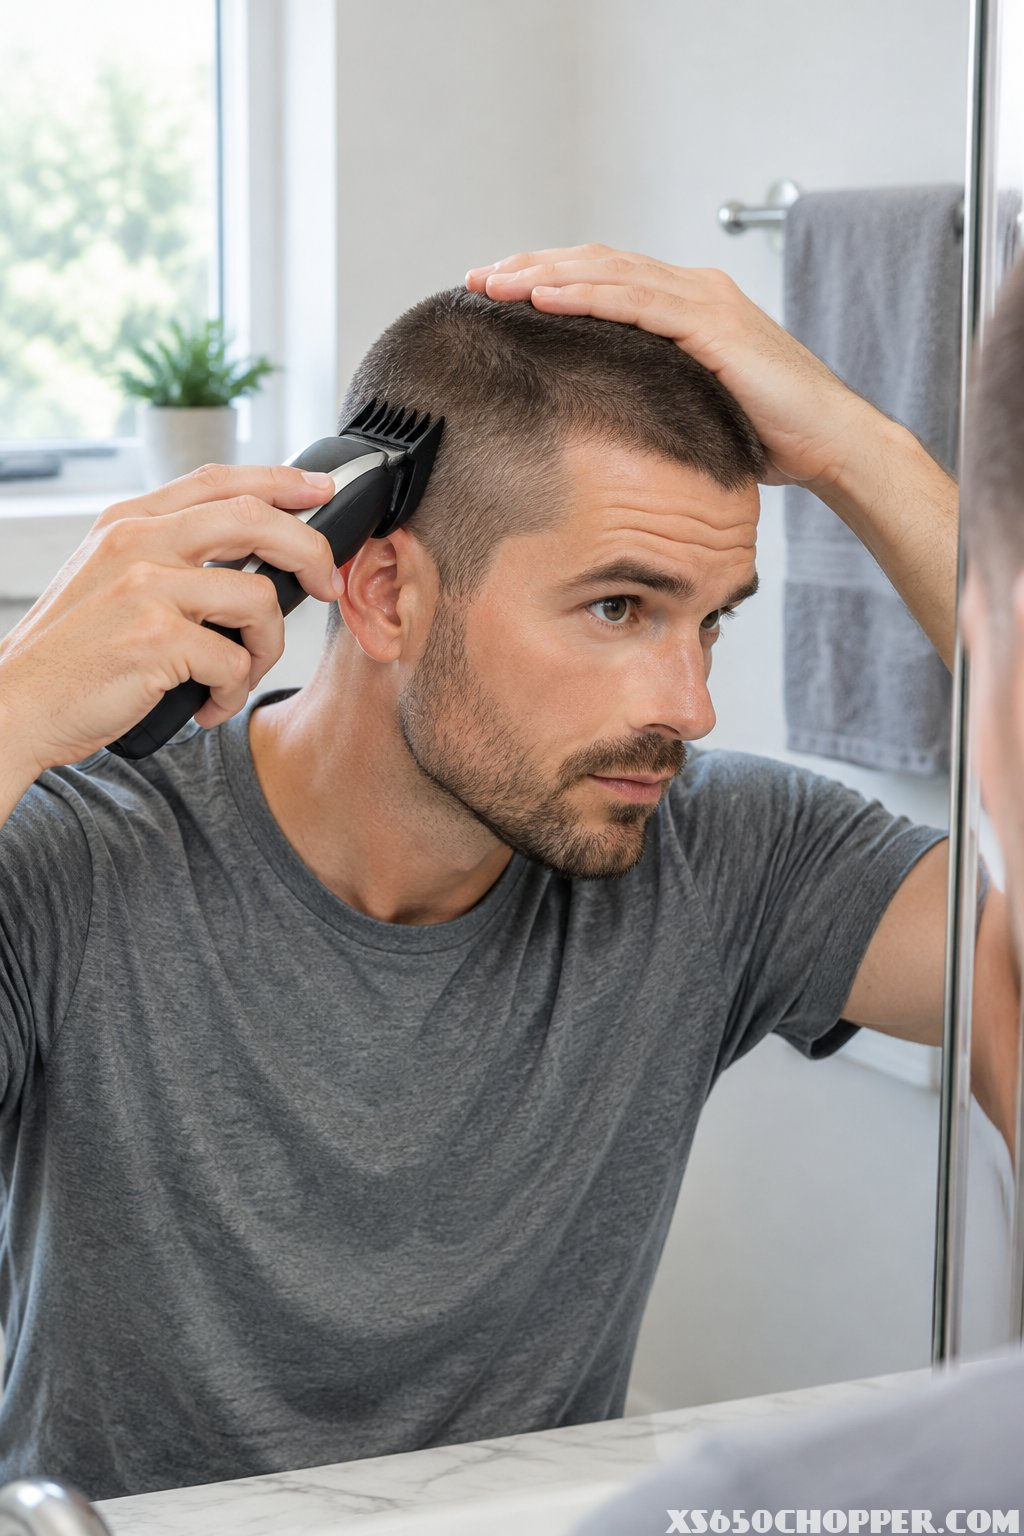
Using the same guard for each full-head trim helps you keep the length even. Start with a clean, secure guard and move the clippers slowly against the direction your hair grows.
Work in overlapping passes so you cover every area without leaving narrow strips behind. Use a consistent angle and pressure across the top and sides, checking the guard attachment as you go. If you want a shorter length, switch down one guard only after you’ve finished and checked the full head.
Keep your clipper cord or charging cable clear of your work area so it doesn’t pull your hand off course. A steady pace gives you more control than rushing over the same patch repeatedly.
PRO TIP
Begin with the longer guard when you’re unsure about the length. You can make a second pass with a shorter guard, while hair cut too short takes time to grow back.
3) Trim Dry Hair in Bright, Even Lighting

Dry hair and bright, even lighting make it easier to spot missed patches as you trim. Wet hair can lie flat and appear longer, which makes it harder to judge how evenly the clippers are cutting.
Set up near a well-lit mirror and add a second light source if shadows fall across your scalp. Move your head slightly as you check the top, sides, and crown. Pause to brush away loose hair so it doesn’t hide uneven spots.
A dry, clean scalp also helps the clipper guard glide steadily. If you’ve just washed your hair, let it dry fully before you begin.
PRO TIP
Check your cut from more than one angle before you remove the guard. The crown and the area above your ears are easy to miss when you only look straight ahead.
4) Touch Up a Fade with Small Guard Adjustments
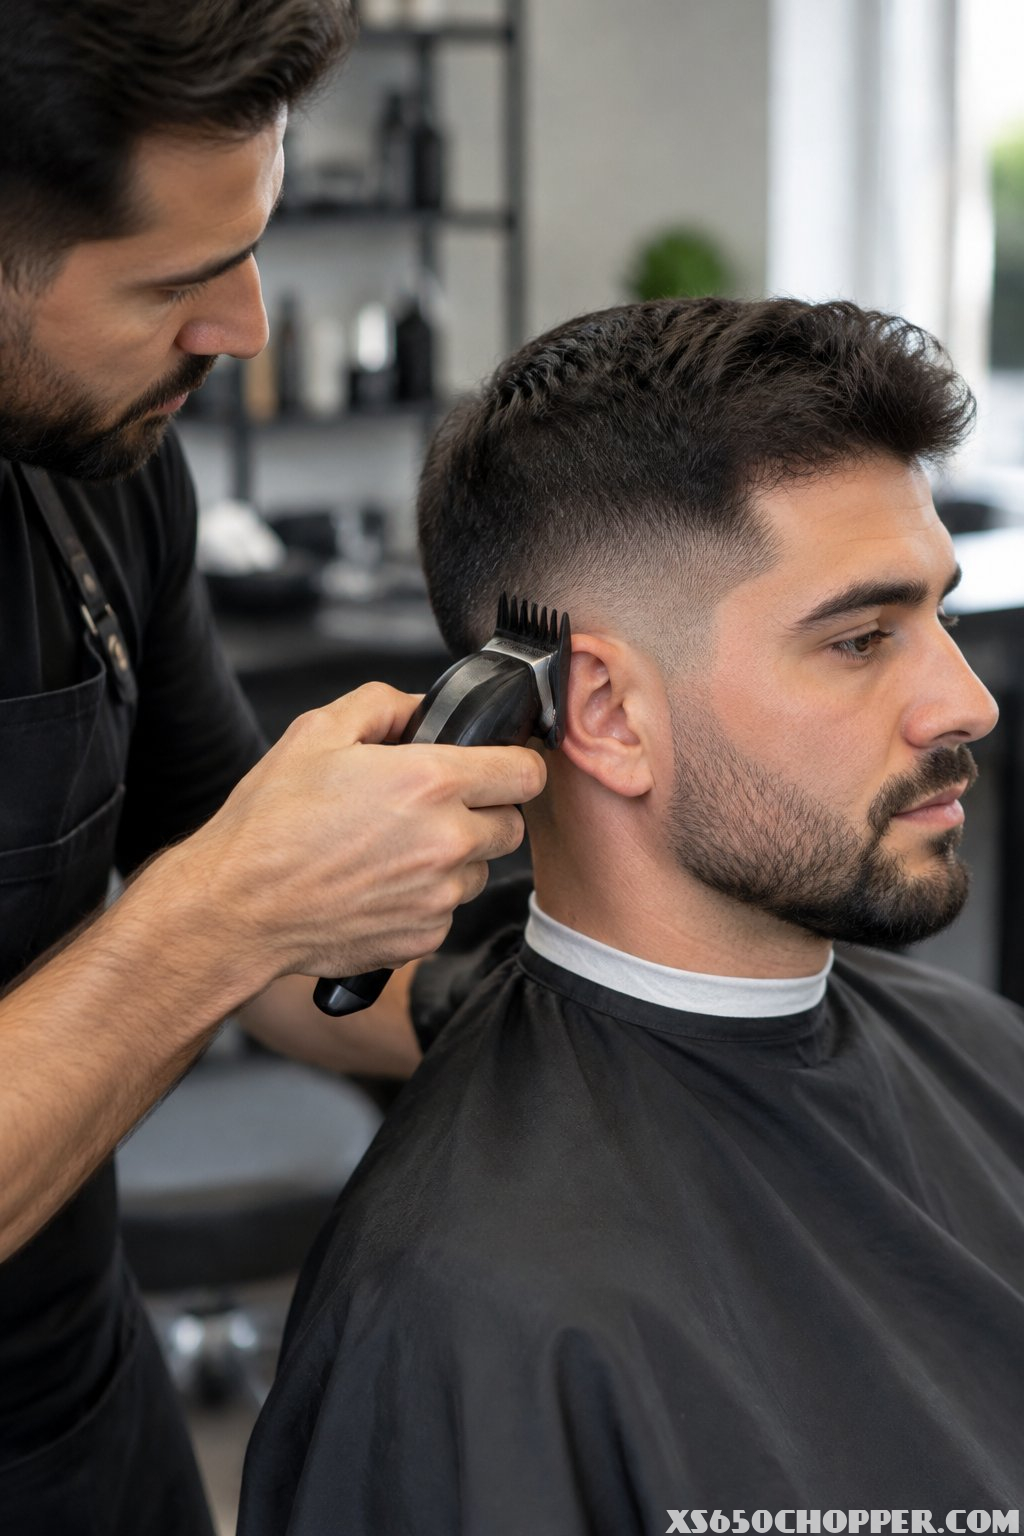
Small guard changes help you keep a fade blended without removing too much hair at once. Use the guard length from your last cut as a reference, then work gradually through the transition area.
Keep your clipper strokes short and light as you move between lengths. Follow the existing blend line and check both sides frequently so the fade stays balanced. If you’re unsure which guard created a particular section, leave that area alone until you can compare it with a clear photo or ask your barber.
The top of a fade takes less frequent attention than its shortest sections. Focus any between-visit touch-up on the visible growth around the sides.
PRO TIP
Save a photo of your fade from the front and both sides after a barber visit. It gives you a useful visual reference when you refresh the edges at home.
5) Use Two Mirrors to Check the Back of Your Head

A handheld mirror and a fixed bathroom mirror let you inspect the back of your head before you finish. Position yourself with your back to the fixed mirror, then angle the handheld mirror until you can see the crown and neckline.
Use the reflection to check for missed strips and uneven patches. Keep your head still while you move the handheld mirror, since changing angles can make the cut look different from one side to the other. If you have trouble seeing clearly, ask someone you trust to check the back before you put your clippers away.
Good lighting helps you see short hairs that blend into the scalp. Wipe the mirrors clean so smudges don’t obscure your view.
PRO TIP
Check the back in small sections, moving the handheld mirror from one side to the other. That makes it easier to track which areas you’ve already inspected.
6) Clean and Oil Clipper Blades After Every Cut

Brush hair out of your clipper blades and apply clipper oil after every cut to keep the tool ready for your next trim. Hair and residue left between the blades can affect how smoothly they move.
Unplug the clippers or switch them off before cleaning. Use the brush supplied with your clippers, then add oil according to the manufacturer’s instructions. Wipe away excess oil before storing the tool, and keep the blades dry.
Regular care also gives you a chance to notice dullness or damage before your next haircut. Replace worn parts using the clipper maker’s guidance.
PRO TIP
Keep the cleaning brush and oil beside your clippers. When both are easy to reach, you’re more likely to complete the quick cleanup before storing your tool.
7) Cleanse Your Scalp Gently and Apply Moisturizer

A gentle cleanser and a light moisturizer help keep your scalp comfortable after a close trim. Wash with lukewarm water, massage the cleanser over your scalp with your fingertips, then rinse thoroughly.
Pat your head dry with a clean towel and apply a small amount of moisturizer. Choose a formula that feels comfortable on your skin and doesn’t leave a heavy residue. If your scalp feels irritated after clipping, give it time to settle before using fragranced or exfoliating products.
Keep your routine simple and consistent. A dedicated scalp moisturizer is useful if your face moisturizer feels too heavy on your head.
PRO TIP
Apply moisturizer while your scalp is slightly damp. Use a small amount first, then add more only if your skin still feels dry.
8) Protect Your Exposed Scalp with Broad-Spectrum SPF 30+

Apply broad-spectrum SPF 30 or higher to exposed scalp skin when you’ll be outdoors. A close cut leaves more skin exposed to sunlight, including the top of your head and any thinning areas.
Cover the scalp evenly, paying attention to the crown, hairline, and part lines. Reapply at least every two hours outdoors, and follow the sunscreen label for swimming or sweating. A hat adds physical coverage during long periods in direct sun.
Use a sunscreen that feels comfortable enough to apply generously. If you have a sensitive scalp, test a small amount first and follow the product directions.
PRO TIP
Keep sunscreen near your grooming supplies or by the door. That reminder makes it easier to include your scalp when you apply sunscreen to your face and neck.
9) Refresh Your Neckline and Around Your Ears with a Detail Trimmer
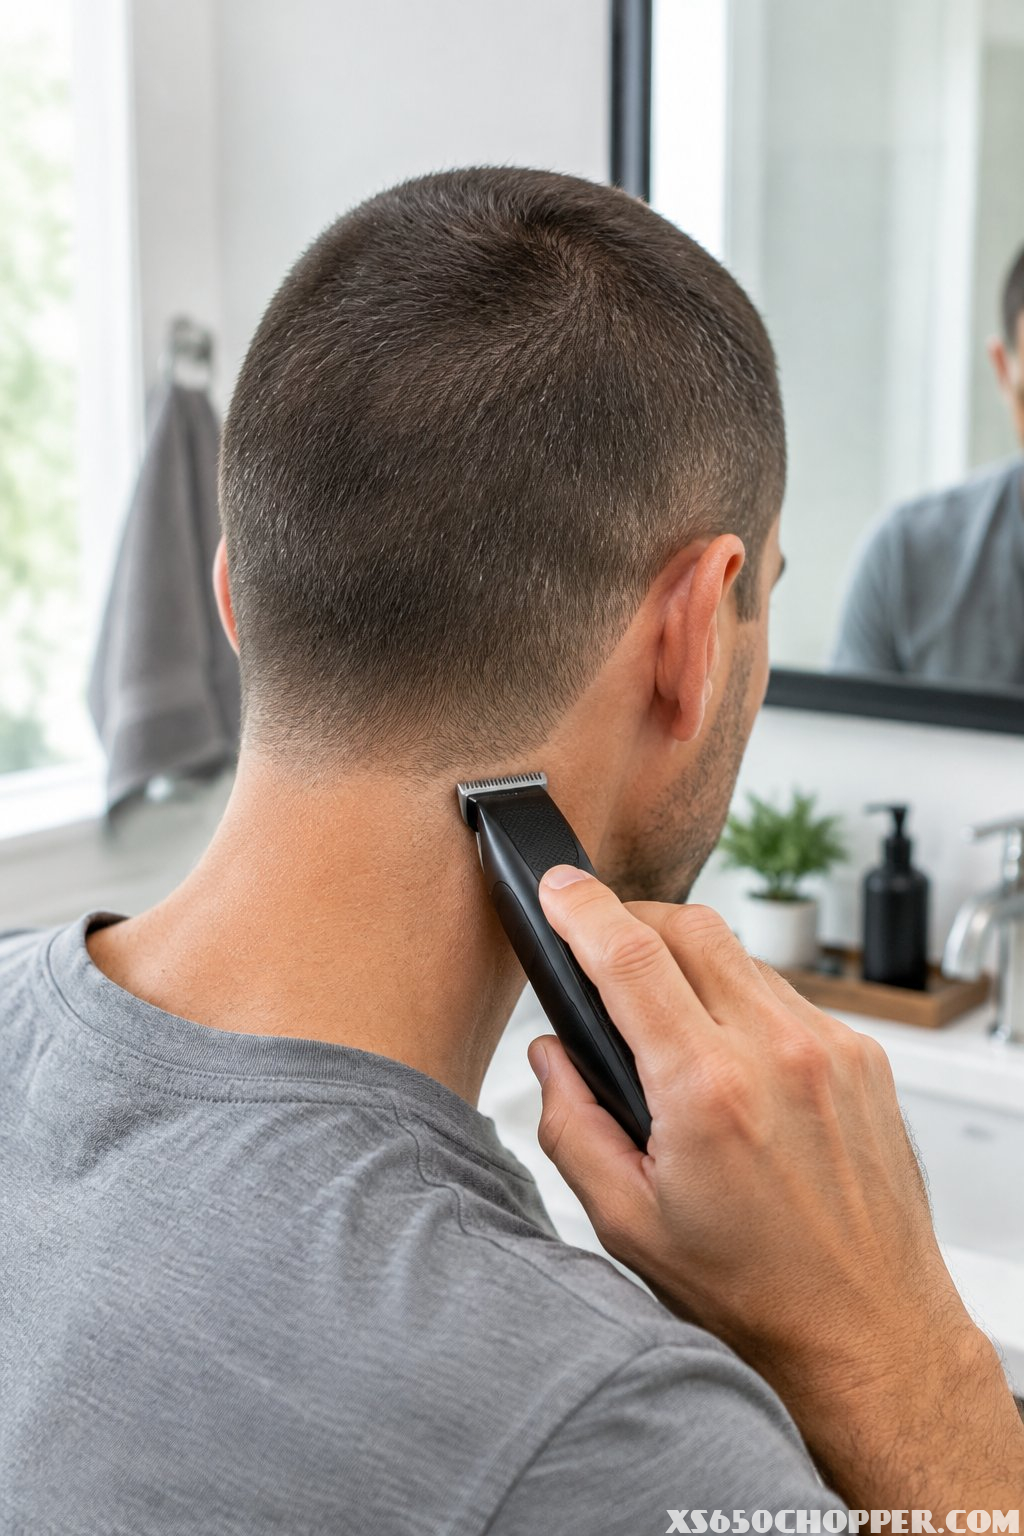
A detail trimmer lets you tidy visible growth around your ears and neckline between full cuts. Use it to clean up stray hairs while keeping the main buzz length unchanged.
Work slowly around the curves of your ears and follow your natural neckline. Use a mirror to check the back, and avoid pushing the hairline higher with each cleanup. If you’re maintaining a shaped edge, follow the outline your barber created.
A small touch-up can keep the cut looking neat without requiring a full clipper pass. Clean the trimmer after use and store it with its guard or cover in place.
PRO TIP
Use the detail trimmer only on hair that has grown beyond your established outline. Frequent close passes can gradually change the shape of your hairline.
How to Choose a Buzz Cut Routine That Fits Your Budget
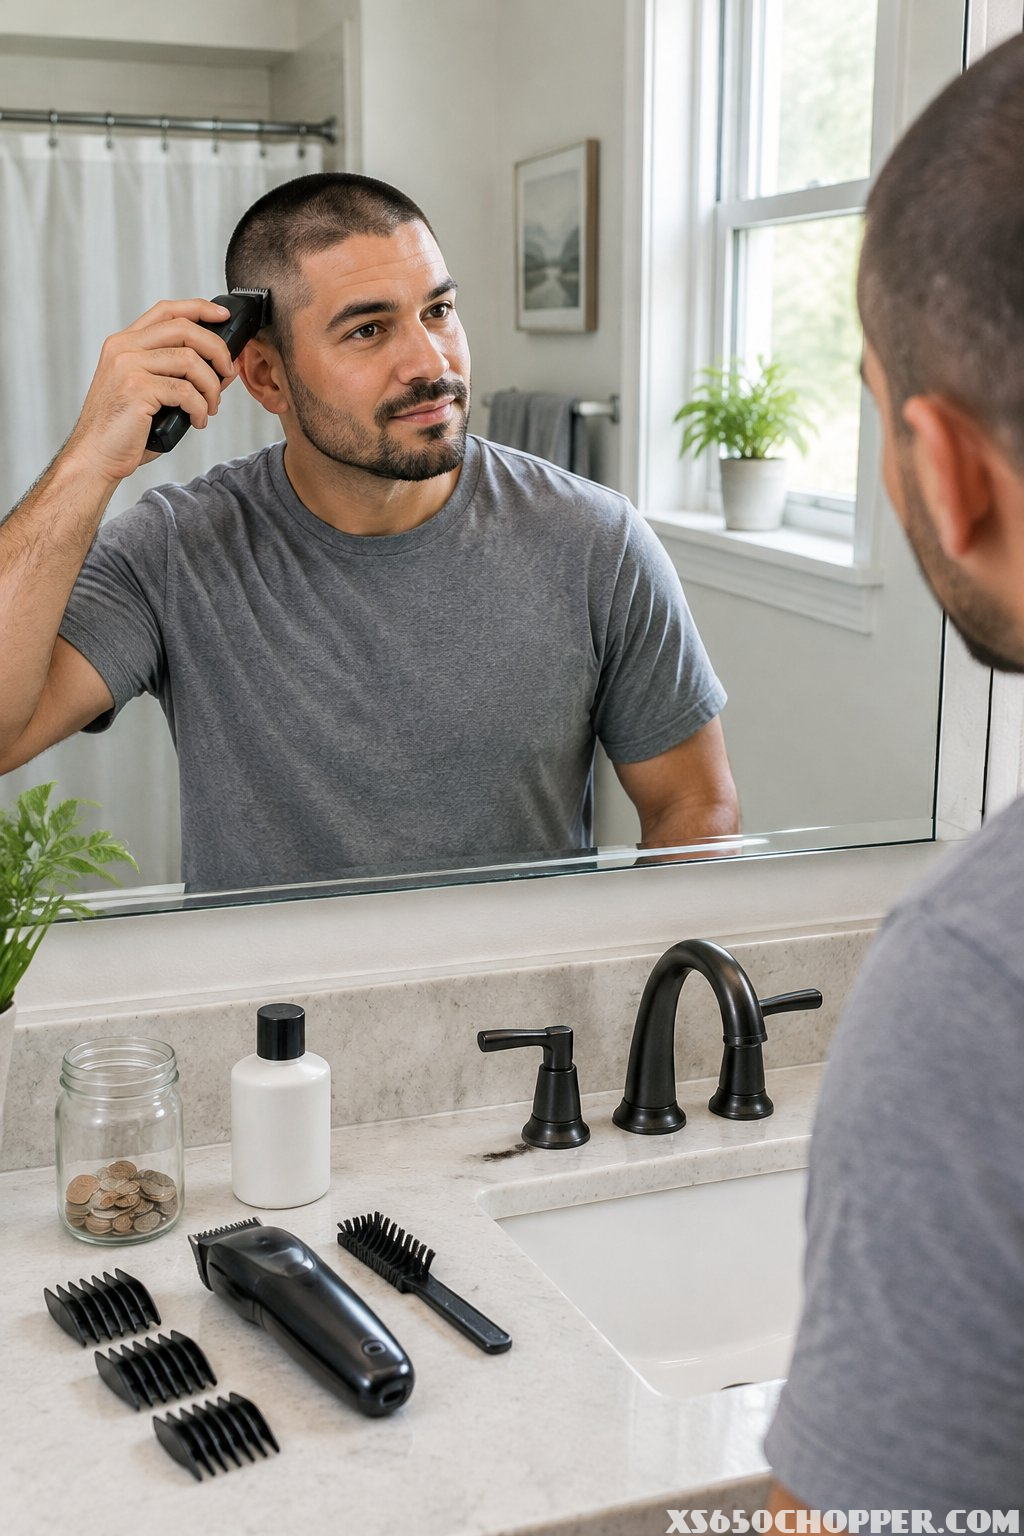
Choose a routine that keeps your preferred length and shape manageable between barber visits. Your guard length and whether you wear a fade help determine how much upkeep you’ll need.
How much upkeep does each guard length require?
Short guards show regrowth quickly, so you’ll need more frequent trims to keep the same close look. Medium and longer guards give you more time between full cuts. A fade adds upkeep because the short sides show growth sooner than a uniform buzz.
Start with a schedule that matches your cut, then adjust it after a couple of trims. If you’re comfortable with a slightly softer outline, you can extend the interval and reduce how often you use your clippers.
Which parts of a cut are easiest to maintain at home?
A uniform buzz is the easiest shape to refresh with one guard and a mirror. Cleaning the neckline and stray hairs around the ears is also manageable with a detail trimmer.
A fade, a sharp lineup, or a blended transition takes more control. Keep those areas close to the shape your barber established, and leave complex reshaping for a professional appointment.
When to Book a Barber Visit

Book a barber when you need a precise blend, a changed shape, or a correction that goes beyond a simple length refresh. A professional cut can reset the outline so you have a clear reference for home maintenance.
When is a fade or blend difficult to fix yourself?
A fade is difficult to correct at home when the transition has a visible line, the sides are uneven, or you’ve taken too much hair off one area. Small guard adjustments work best when you’re following an established blend with a clear reference.
Ask your barber to restore the transition if the fade looks patchy from multiple angles. Bring a photo of the finish you want and explain which areas you’ve touched up.
What signs suggest a DIY trim needs professional help?
A sharp dip in the hairline, a patch cut shorter than the surrounding area, or an uneven neckline are good reasons to book a repair. A barber can assess the shape and tell you whether a correction or a little regrowth will give you the cleanest result.
Stop trimming when you’re unsure which guard or angle to use. Waiting for an appointment helps preserve the remaining length for a more even correction.