Mid Controls for Very Little Money
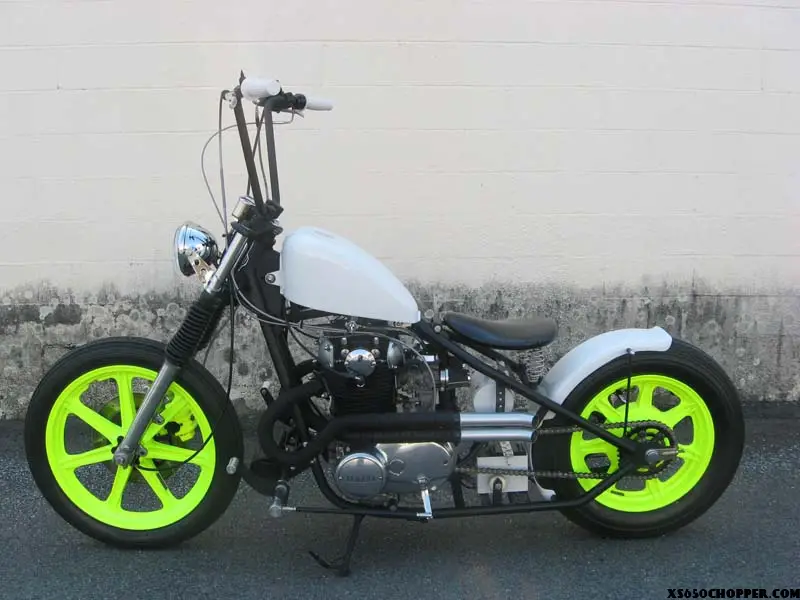
Never a huge fan of forward controls, I set out to make a set of mid controls for very little money, and a fair amount class/style. I knew of a few simple options that would work, but they just weren’t quite what I had in mind. I envisioned a set of cast peg mounts, bolting to the original exhaust mounts on the lower frame rails. For quite some time, I have been holding on to mounds of stock parts in pretty beat up shape. Within those tubs of forgotten and neglected parts, were the perfect platforms necessary to achieve the look I was after.


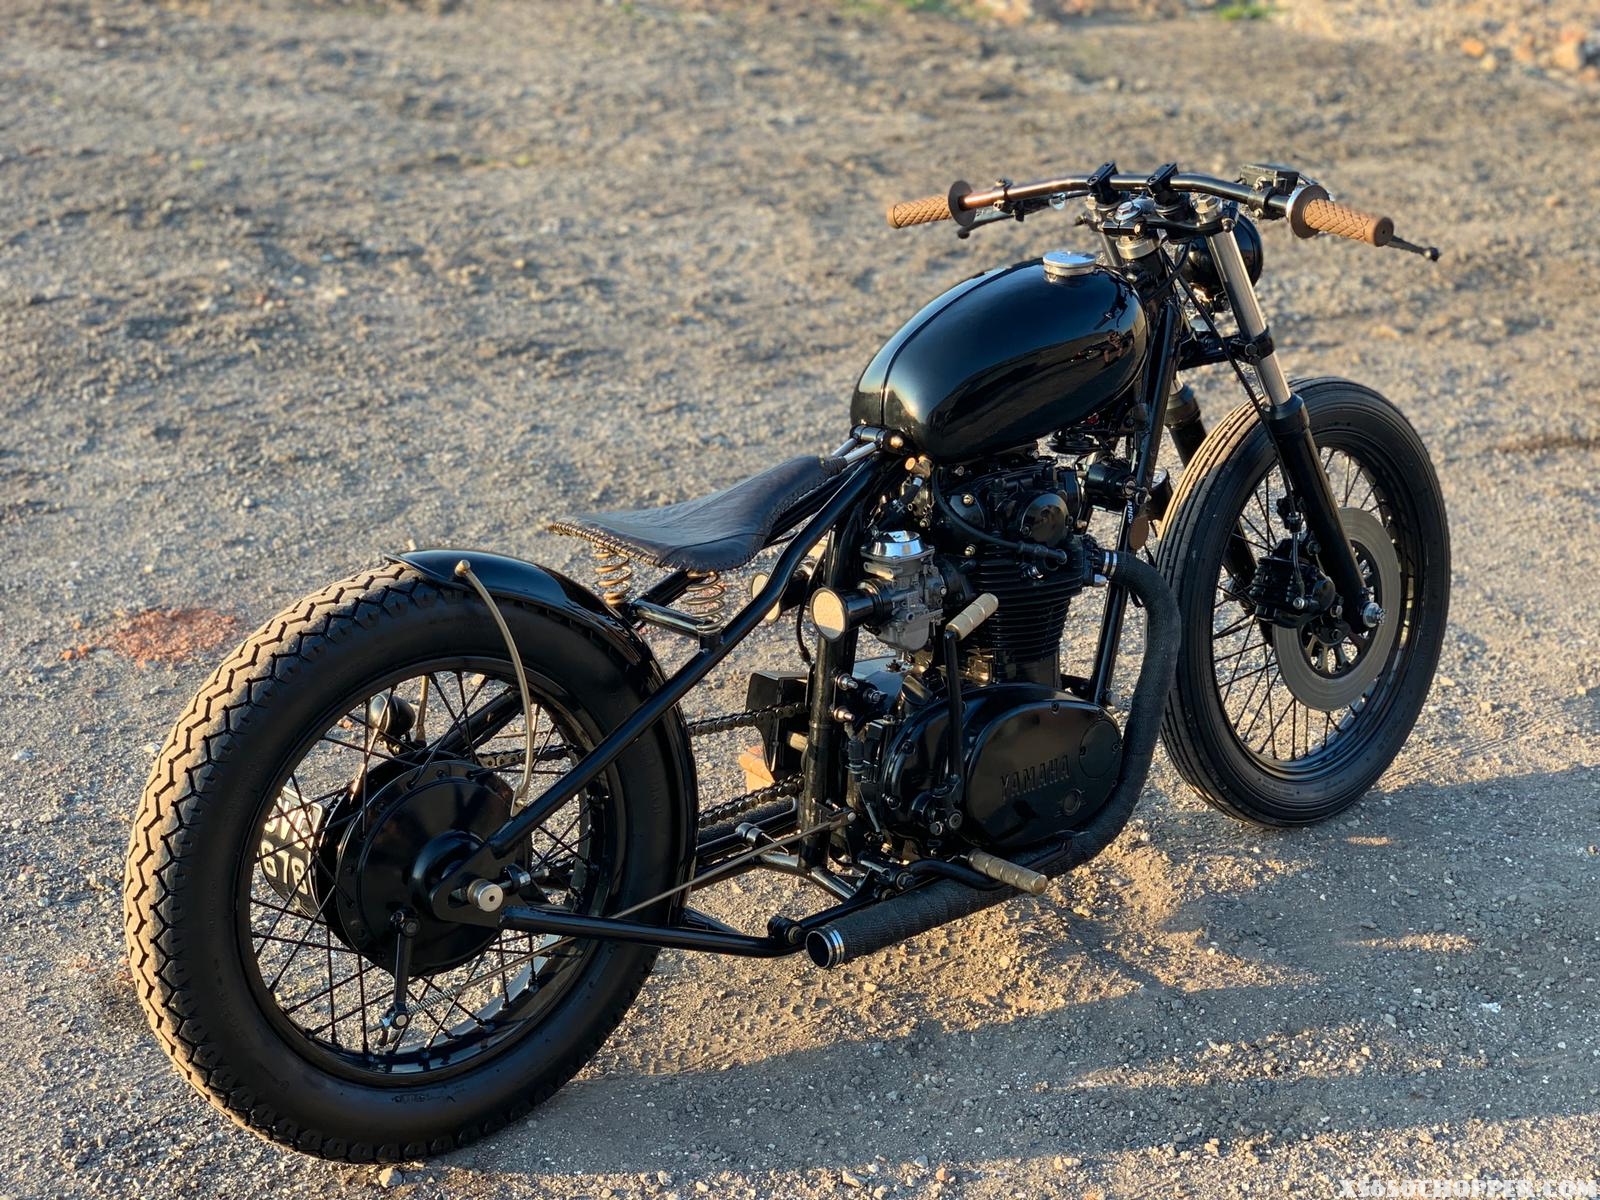
I have seen a few bikes built before using the stock foot brackets, but never in this configuration. The first step, was to cut the brackets leaving only the original two mounting holes. Using an angle grinder and a polishing wheel, I was able to maintain a nice smooth end to match the non-cut side.

With that sorted, I bolted the pieces in position, using only the rearward mounting holes on the lower frame rails. I then attached my cheapie fold-able pegs to the upper holes of the brackets. From there I was able to position the footing where I needed them.

Tightening those into position, I then fabricated some thick sheet metal brackets to weld to the lower portions of the cut stockers. Drilling a hole for each side I then bolted them to the frame. These were then welded, which will keep the brackets from moving either forward or backward locking them into place for good. The reducer washers in the pics, came with the set of pegs I scored on E-bay for a few bucks.

They worked great mounting both the pegs to the brackets, and then at the lower mounts on the back side before welding for extra stability. The brake arm was shortened roughly an inch or so, and the brake pivot was placed as close to the motor as possible to keep everything nice and tidy.

The shifter side worked out perfect for placement, so no adjustment was necessary there.

Hopefully all of that jargin above made some sense, and possibly will give you an idea or two as to what can be done with a pile of junk and a few hours of your time.